Showing posts with label selvedges. Show all posts

Sunday, February 23, 2014

Zippy Pouches


I am all excited about having a stall at the local Easter Fair market. I have my fused glass jewellery that I want to sell but I couldn't help trying to find something to sew. I tried the tote bag but I think that is not viable so I tried some little keepsake pouches that would be suitable to put my jewellery pieces in. I have finished two and have six more ready to sew up the sides and four more ready to put the zips in.

Production line
While making the 9 patches I cut off the selvedges and I love a good selvedge zippy. In the past I have had trouble sewing the selvedges together in parallel lines so I had to come up with a new method for me.
I had them all laid out and thought it would be a good idea to lay them out on a piece of iron on interfacing to hold them in place. I used my trusty teflon sheet to stop the little overhangs of gluey bits from sticking to the iron and I stuck them all on the interfacing. It was so simple to sew them neatly and in lovely straight lines.


I made two little zippies out of my selvedge fabric.


I cut the lining to match.


Sewed the zip between the outer and the lining then gave it a press.


Next I folded the outer up in front and the lining up in back and sewed them to the zipper.


Undo the zip and turn it all right side out to press around the zipper.
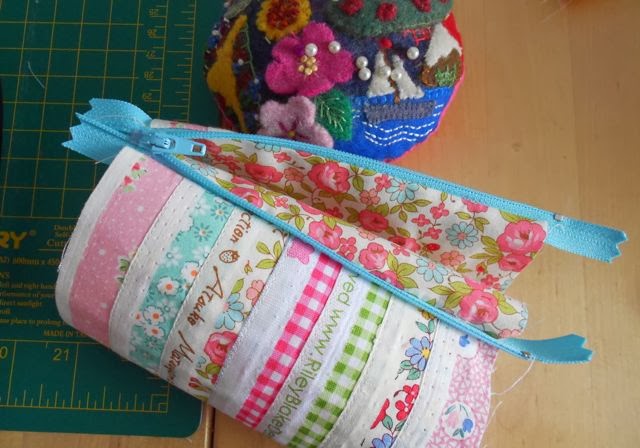

Do the zipper up about an inch then turn it all inside out again. Line up the outers and the linings separately and sew across the zipper on each side. I left an opening in the lining on one side or turning.


Give it a press and a bit of ribbon and voila!


I love zippies and there are lots of great tutorials out there. Here are just a few.

A simple clutch - like mine but a bit bigger.
A variation on the clutch - smaller and with cute curved corners.
A really easy way to do the zipper and lining.
Yet another way to get a really neat zipper.
A pencil case in the same style as my keepsake pouches.
A gorgeous little pleated clutch.
A nice border next to the zipper.
The wide mouth pouch.

You can gets lots of inspiration from my Pinterest board Zippy Things. Why not follow me. I am always pinning zippies.

I finished my latest dish cloth.


And I even found time to break the vacuum cleaner. It is now packed up ready to go off for repair. I think it needs a new motor. Dyson pay for the postage and it isn't even in warranty. They said maybe a few hundred dollars. Sounds better than $700 for a new one.


Make sure you check out those zippy pouch tutorials and anyone sewing along with Welcome to the North Pole don't forget Wednesday 26th Feb is the post day. I will be posting my progress and setting up a thumbnail linky for everyone to share what they have done.

Comment options:
Flickr
Pinterest

Happy Quilting and Crafting,
Val

Monday, October 8, 2012

mug mats and weeks 39 and 40

I soooo love doing my aerobic exercise. I run. I walk. I jump. I have managed to increase the time to about 50 mins of interval style where you do high intensity for 1 or 2 or 3 minutes then walk for 2 or 3 mins to get the heart rate back a bit then high intensity again. It is very doable.

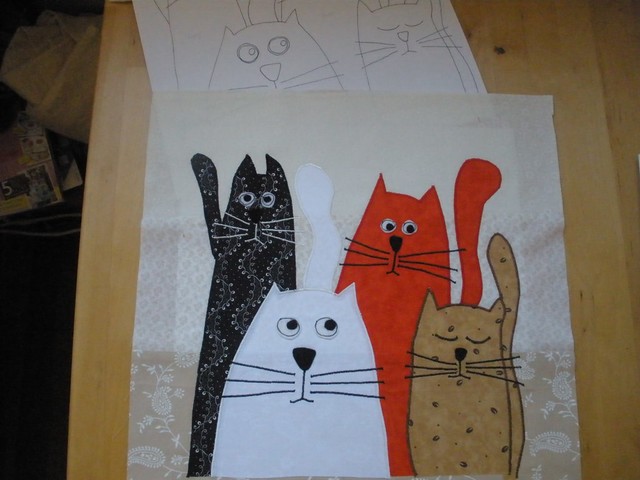
I have been drawing up a storm using the pictures I have pinned or seen in magazines and I have decided to make a quilt from 12 inch blocks of random design both applique and pieced. I have finished block 1 this week. I copied this lovely design from mamacjt 's blog.


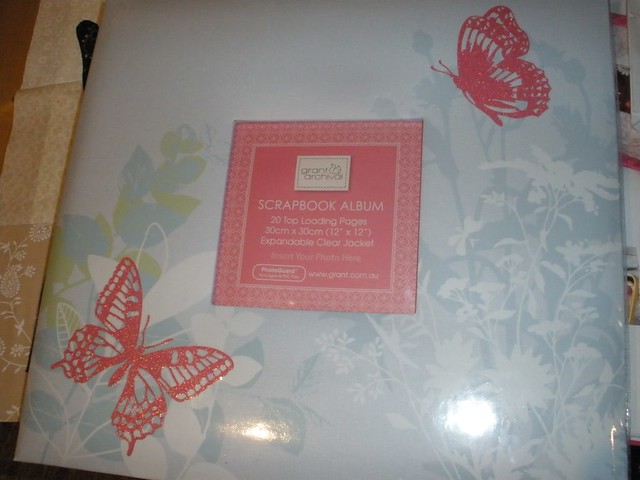
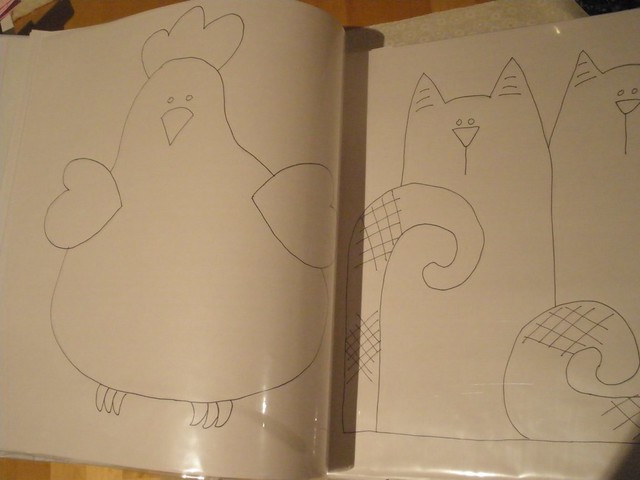
I wanted to get some new skinny folders to file my old drawings a bit more user friendly rather than in the big fat ring binders I have now. They are too hard to pick up and flick through. I also wanted a 12 inch album to store my new drawings. I ended up getting two snap load albums from Aldi for $5 each. They are normally $20 at Lincraft. I have been using my stash of 12 inch scrap booking papers that I have had for maybe 10 years to make the designs into 12 inch blocks. The papers are the ones you get 100 for $15 from Big W. Perfect for quilting designs.


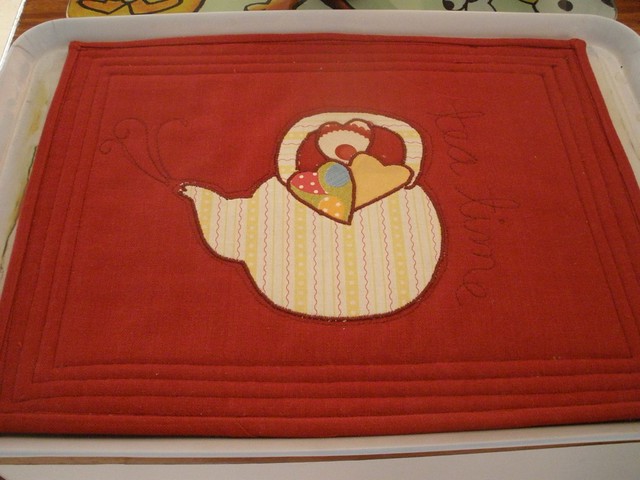
I have been carrying my brekkie outside each morning with my tray. To stop things sliding around I need a tray mat. I have been folding in the edges of my fancy tea towels to use as mats. I don't use them as tea towels because they never get seen then. I had an urge to sew so I  took one of the tea towels and cut it into a mat. I even appliqued a tea pot on the back side and I have enough tea towel left to make a tea pot cover.


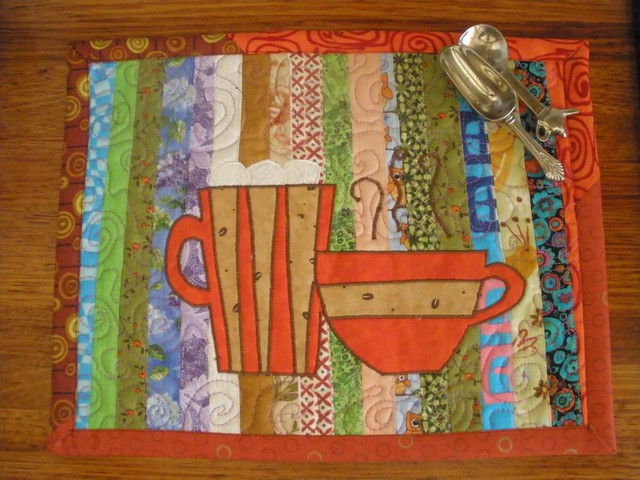
I couldn't help myself and just happened to start sewing selevedges together again. They make great kitchen counter mats because spills don't show up. An applique was needed of course so a mug with marsh mallows and a cup of coffee were applied and voila another nice mat to make my tea on. The owl is going on the cat quilt instead of the parrot DD2 didn't like.


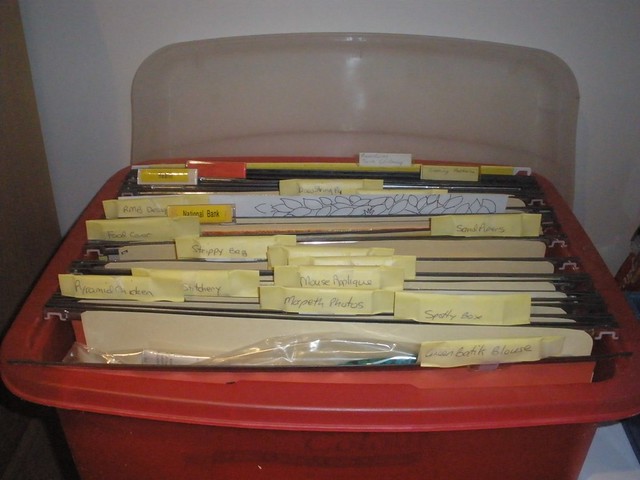
I tidied up the sewing table a bit and put all the small UFO's into folders in a hanging file box. I then started putting steps required to finish them in my Errands app so I can do a little bit if I am looking for something to do and then tick it off so I know exactly what is required next time I am looking for something to do.


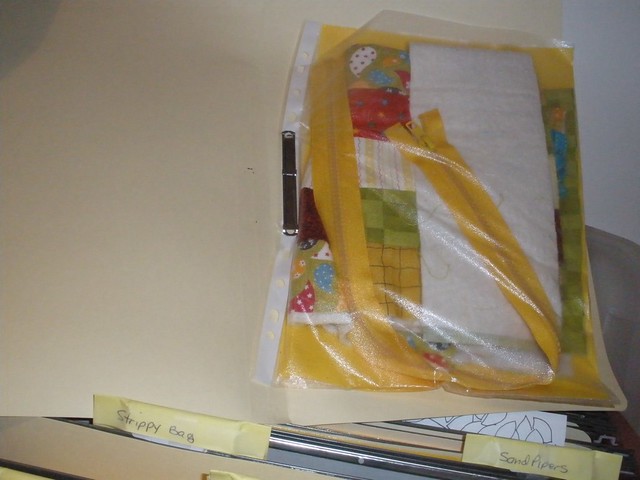
The folders were left over from my teacher days. This is my half finished tote bag.


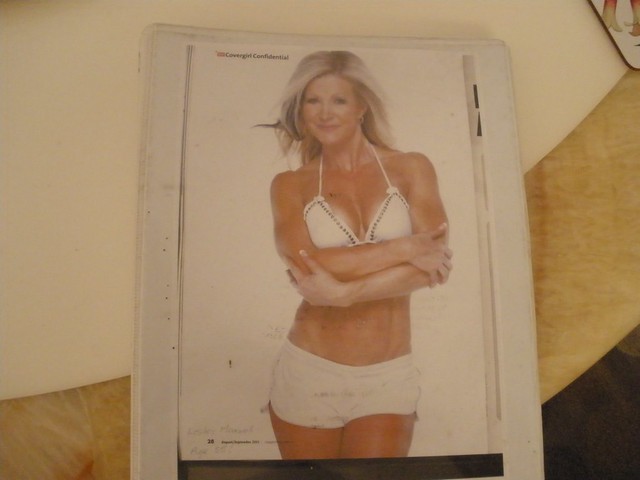
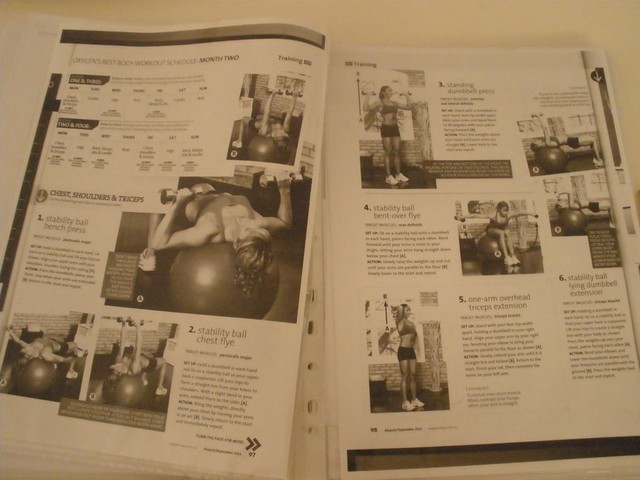
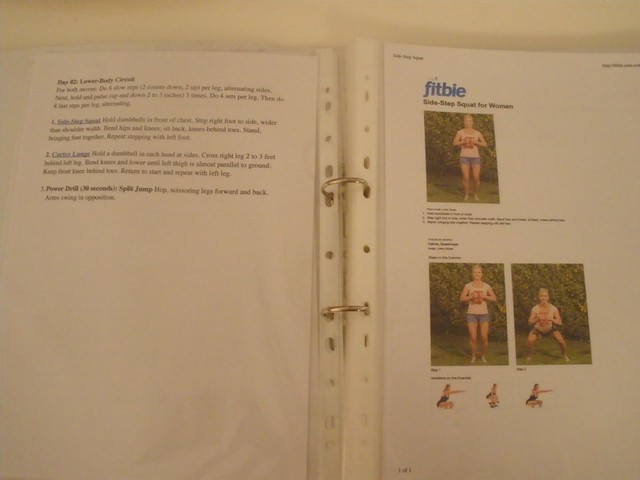
Finally I redid my workout routine folder, putting it into a ring binder instead of a display folder. I have quite a few pages now and with the ring binder I can place the current routine in the front of the folder. The routines are made up of some printed out ones from Pinterest and various websites as well as photocopies of routines from my Oxygen or Shape magazines. Having the folder makes it much easier to actually do the exercise rather than looking for, then looking through the magazine or website.

Leslie Maxwell is my inspiration. She is 55 in the photo.


Happy Quilting,
Val

Friday, December 9, 2011

Would you believe 'More Christmas Sewing' :)

I have been busy sewing and playing. I loved the look of some of the cakes in the Woolworths Fresh magazine so I have traced them to make into fabric things at some point.

And then I saw what Teje was doing on Nero's Post and Patch. She is making fabric cards by just sewing around shapes and trimming them close to the stitching. I have been meaning to try this method for a while. Obviously it is not a good plan for things that have to be washed but I thought if I made some coasters like this they could be soaked carefully if need be. So I cut out some teapot shapes roughly, interfaced them and cut wadding and backing. I then sewed around the outline and cut them out. They look really cute. I will have to make a set.


I managed to finish the last three of my place mats and I made a magpie tree decoration. I added some bells to jazz him up a bit.


My desk was a mess with 5 or 6 projects in various stages so I got out another folder and put all my drawings and interfacing pieces and flosses and even a tea towel into plastic sleeves and I feel so much happier.

If you click on these drawings you can save them print them full size.


Happy Quilting,
Val
Tuesday, November 22, 2011

"Black and White" no.2 in the Cat Collection


Here is the second of my four cats. I wanted to play with my felt but had to think hard of something that I would look at or use everyday but wouldn't need to be wash. I had been noticing the sad sight my tea bags make in my pantry. I have tea tins but it is too hard to find the right tea since the tins are all identical.
I reduced the original cat design to 80%.
The felt bag was easy to make. I cut the wide sides to include a 3cm base section and added on another 1/2cm for a seam. I did the applique, sewed the base seam and pressed the base crease, sewed the sides onto the base then sewed up each side seam. I did a bit of buttonhole stitch around the top and added the tie.


Doesn't she brighten up the pantry!

You can download some basic instructions and the cat pattern from my Google docs.

I have also finished the second pot holder.


Happy appliqueing,
Val

Saturday, November 19, 2011

Selvedges again

I have been putting more selvedges together. It is quite fun. I played around with the tea cups. I didn't like the dark brown satin stitch I started with so I just continued with different thread. I can do what ever I like with things for me.


Since the backing was one piece I thought it would look good with some meandering quilting. I have never tried it before. I was quite happy with it the result. Some of the stitches were a bit uneven but I only got one crossover.
The tea cup mat is for my sink. It has an old hand towel on the back.


Today I made a pot holder that I will give to mum for Christmas. I will make a pair. I saw one with the glove pocket on the back at a craft shop and thought it was a good idea to stop the edges of fingers touching the hot part. I use pure wool blanket pieces inside. Last winter I bought a single bed wool blanket for $3 at the op shop.


Happy quilting,
Val

Friday, November 18, 2011

Selvedge applique

I put the cat on a tea towel and then I got busy and made the 'ribbon' tree.


I think I will make 6 for the Christmas table. Not all with trees. Maybe some curved decoration shapes and a dove and a gingerbread man. I have just made some tea cups with selvedges I was given. I will put them on a counter mat for the kitchen.

Edit
Couldn't for the life of me remember where I had seen the ribbon tree - til Karen commented from Sunburnt Quilts

Happy quilting,
Val

Wednesday, November 16, 2011

sewing strips

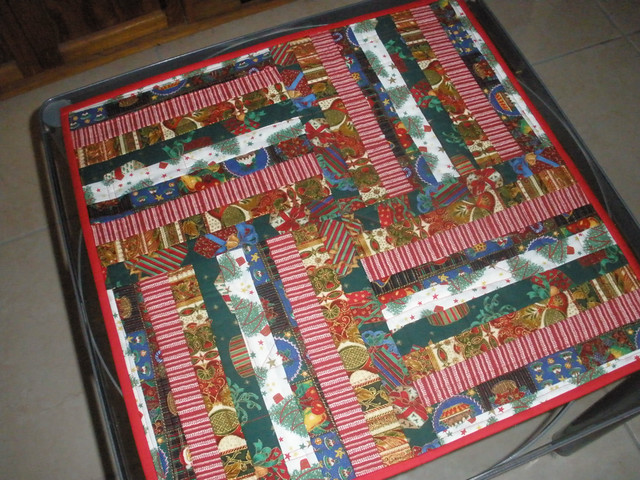
I saw a pattern for a folded pouch made from 1 1/2" strips and I just got the urge to sew strips. So I put together 10 width of fabric strips in Christmas fabric. I didn't really want a Christmas pouch so I cut it into 4 squares and made a table topper. So I could use it all year I made the backing with some of my NZ fabrics - the Tui's and matchng green.
My travel bag sits very patiently while I play.


I also saw that someone had done a lovely ribbon tree and thought that idea would be perfect for selvedges. I have drawn it up ready to do. I got side tracked with a stripy cat that just had to go first. I think it will go on a tea towel.

I drew the pattern on thin interfacing sewed on the strips then stay stitched around the outline and cut it out. I will use a bit of spray basting to hold it on while I stitch it on the tea towel. There is a tail and a stitched face to complete it.


 Mum and I had time to go and have morning tea up at Mt Tamborine at the Polish Gallery. There is a lovely view down the valley. It was a bit hot so not a good place to go in summer.


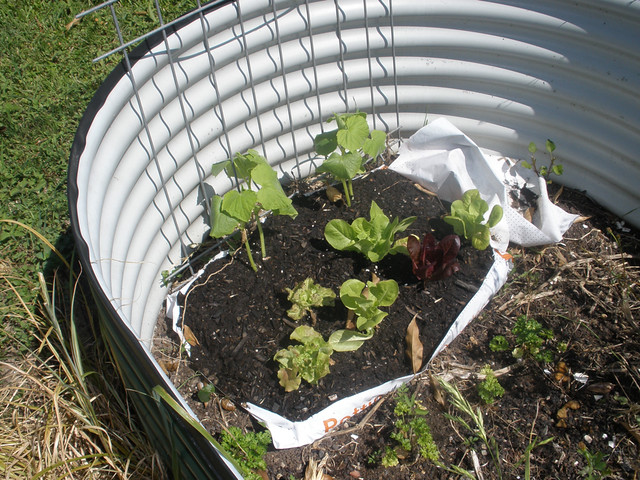
And finally here is the garden progress. When the cucumbers grow big I will train them back over the bed to keep the sun off the lettuce and maybe a capsicum. The sun is so fierce here all the veges can do with some shade.


Happy Quilting,
Val
Related Posts Plugin for WordPress, Blogger...