Wednesday, January 30, 2013

January North Pole QAL

Here we are at the end of January already but I know some of the quilt-alongers have already done some of the blocks. The schedule calls for getting your fabrics organised by the end of January but it never hurts to get a bit ahead of the schedule. If you are anything like me something new seems to pop up that has to be started :)
One of you I know has signed up for a very cute BOM called Dolly and Me. I am so tempted. There are several shops selling it as pattern or kit.

Where was I? That's right Welcome to the North Pole. 
I need to stay on track. 

I pulled out all my Christmas fabrics because I wanted to make it bright and colourful. Also instead of dark blue backgrounds I have planned white for the bottom section and night sky blue for the top section with Santa's sleigh so it will be much lighter than the one in the book.


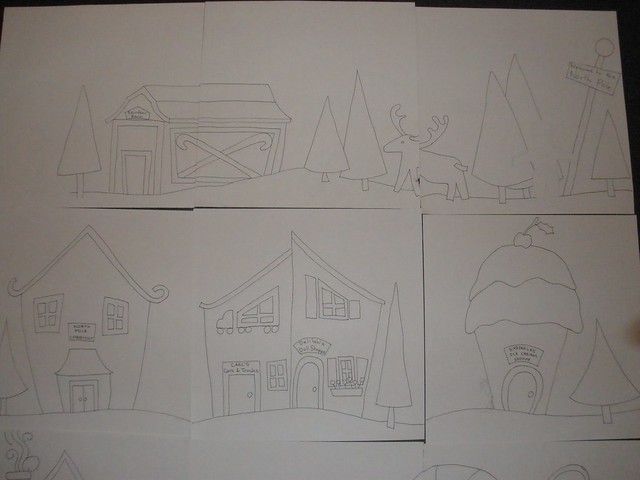
Because I wanted a quilt to go on a bed I had to make it a bit bigger. I also wanted a scenic look rather than disjointed blocks. I pulled out my 12 inch scrapbooking papers (the ones I have had for 15 years and have been eaten round the edges by silverfish) and started drawing up some blocks.
This is what I came up with. 
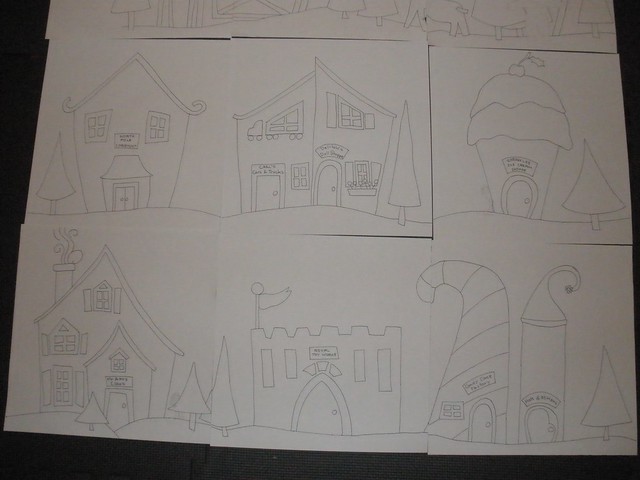
Rows 1 and 2
Rows 2 and 3
Rows 4 and 5 will be sky  with stars and Santa
Santa and his sleigh will probably be straight off the pattern because it is a bit hard to redraw it.

I wanted snow flake fabric but I didn't have any and I couldn't see just what I wanted on the internet so I settled for white. I think I will hand stitch some snowflakes on each block.
I started Mr and Mrs Clause's house and almost have it finished. The reason it is not finished is I found a wall hanging kit that I planned to make for my mum and just started it. It is cute sandpipers on a beach. I will show that one another time.

Almost finished
If you are quilting along add your name to the linky and link it up to your post about the quilt. 
If you are not in the QAL but you have some blocks or have made this quilt you are welcome to link to your post about them. Only link up if you have a post about the quilt Welcome to the North Pole.

Please leave a comment if you visit even if it is just Hi Val, just looking. If you have a blog I always like to look back. Also make sure you have an email connected to your profile so I can reply to your comments.

Happy Quilting,
Val

Monday, January 28, 2013

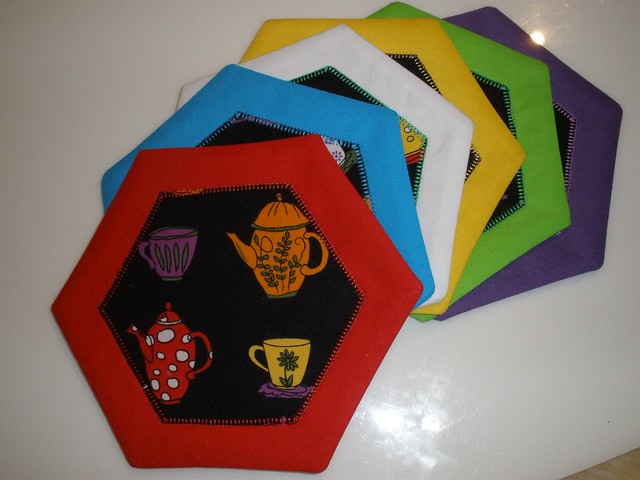
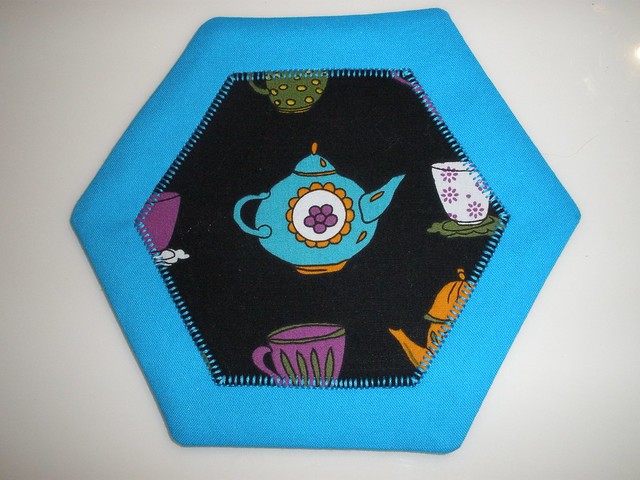
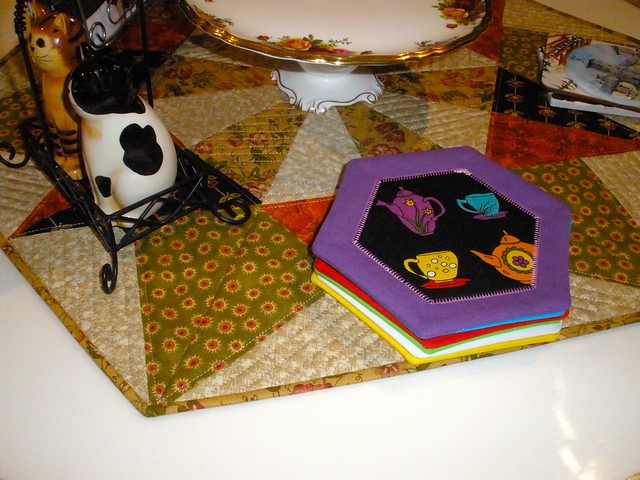
Hexagon Coasters - slit and turn method

I am adding a tea cup story so I can link up with the Tea party at Rose Chintz Cottage. 
I don't often buy cutesy tourist mugs but I just couldn't resist this one with all the iconic animals of Scotland. I picked it up in a big souvenir shop just as we left Edinburgh Castle and I really enjoy having a cup of tea and thinking about past trips and future trips to Scotland. I had to carry it safely all the way down to Bath on a two week road trip with my mum then get it home to Brisbane Australia. It was worth all the effort. 


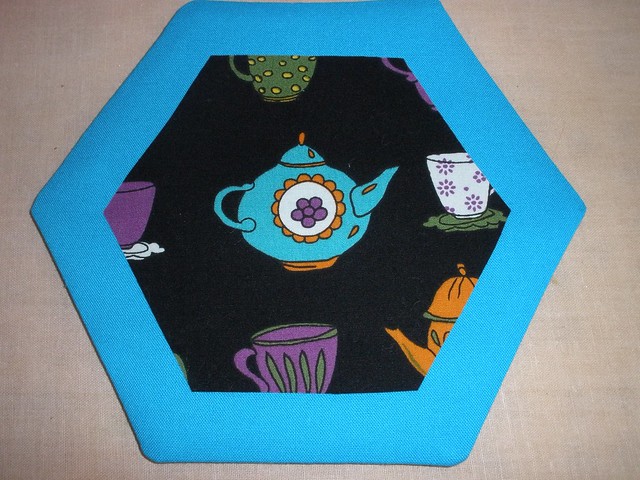
I picked up a craft book on the free table at quilting group on Wednesday and it had a lovely coaster pattern in it. So simple and neat. I have been using this slit and turn method with my pincushions and I have used felt backing for some coasters and the slit and turn method but I hadn't thought of sticking an applique piece over the slit. The pattern is by Julie Nixon and available from Craft Lovers for $4

This gingerbread coaster pattern idea is free at Janome

A large hexagon shape can be downloaded for free at Math - Salamanders. Just scroll down a bit. Add 1/4 inch seam allowance to this one. Draw the smaller hexagon 1 inch in.

Here is a bit of a tutorial.

The interfacing, the helpful pin and the dot guides are my ideas.

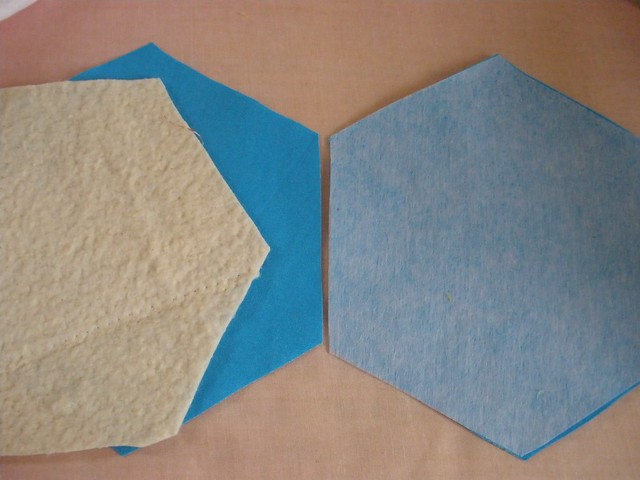
Main fabric - cut two large hexagons
Wadding - one large hexagon. (Lately I have been trimming the wadding by a quarter inch)
interfacing - one large hexagon
Feature fabric - one small hexagon using fusible applique paper.

Interface one piece
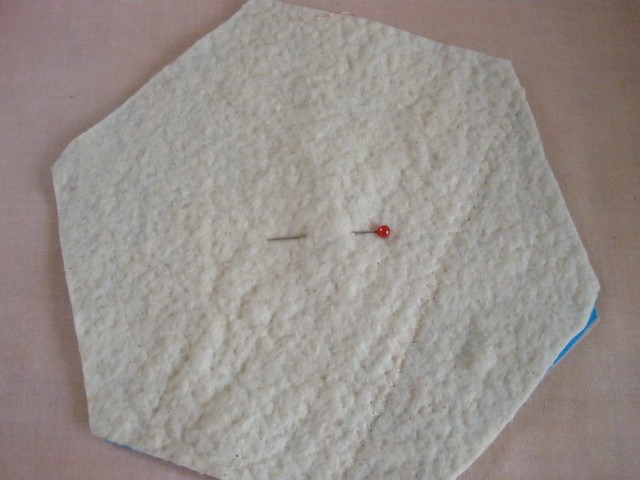
Pin the wadding to the other piece
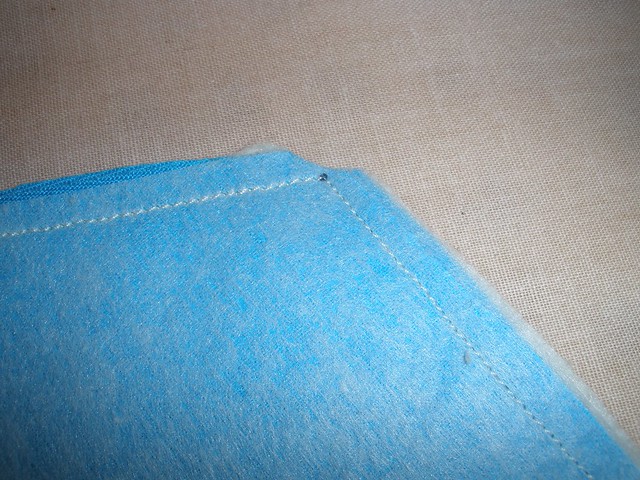
You need this pin to help you separate the fabric layers when you cut the slit. It is underneath as you sew so be careful not to drag it out. I had a lot of trouble separating the fabric layers on my first one. You just can't feel if you have one piece or two through the interfacing and wadding.
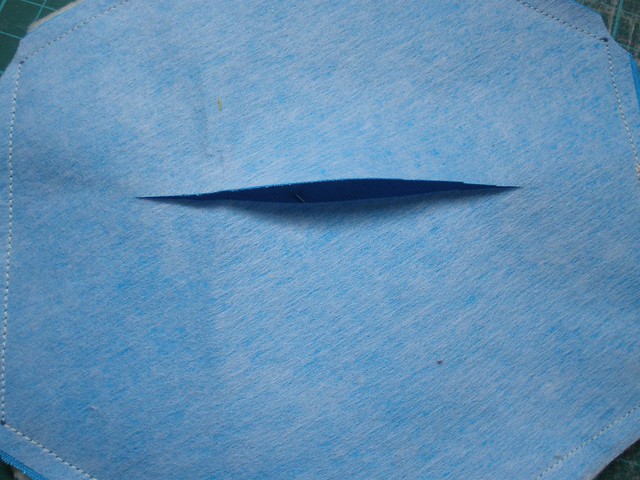
I now cut a 1/2 inch slit in the top piece before sewing and I spray baste the wadding to the other piece with just a squirt.
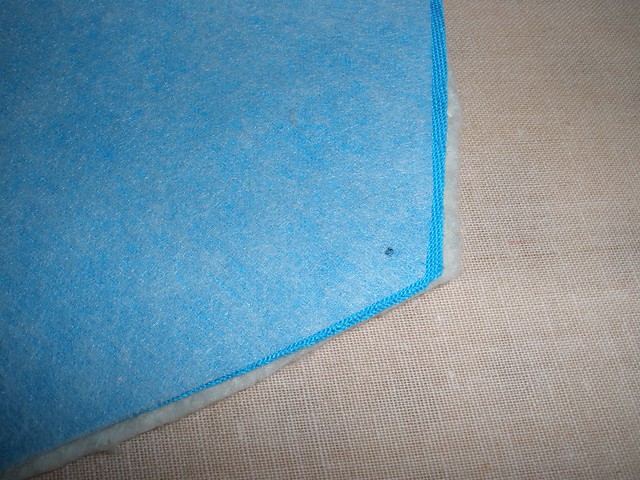
Put a little dot to aim for in each corner.
Snip all the corners. I used my little curved scissors.
Pull on the pin at the back and the interfaced piece in front to separate the layers and snip the slit.
Turn and press.
Fuse your applique piece over the slit.
Finish the raw edge.


More Linking Up
I found a lovely Create-a-long linky party over at Moments with Liz. This first quarter is a living/dining room theme. I thought my coasters would fit in here.

Happy Quilting,
Val

Saturday, January 26, 2013

FNSI - Monthly Mini Quilt


Last year I decided I wanted to make a mini quilt a month for 2013. The plan was to get it done early in the month, share the pattern and maybe inspire others but I have gotten off to a slow start. I have a lot of things on the go. February is on the drawing board and March is just in my head so I should be able to catch up soon.

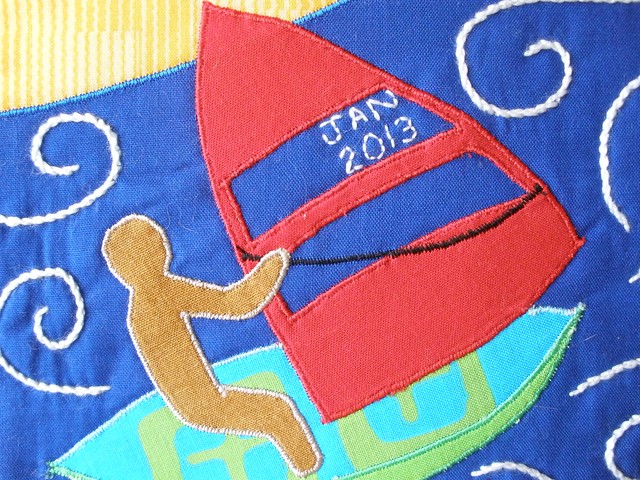
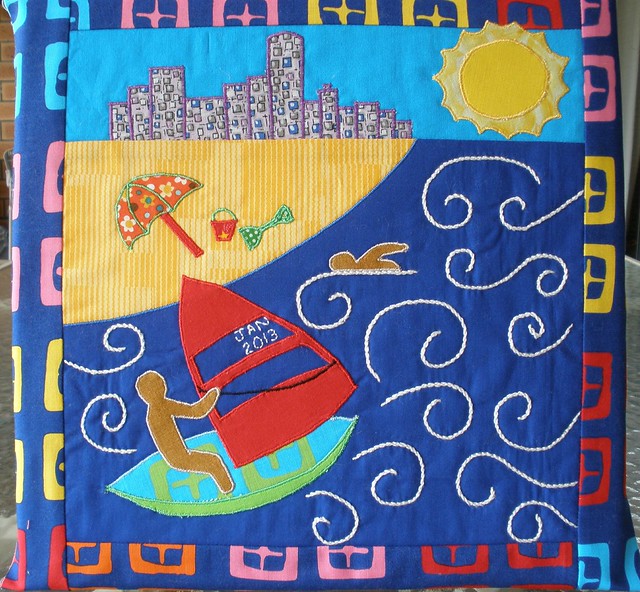
Last night for FNSI I put the finishing stitches on the waves and put a date on the windsurfer sail. There is a huge list of sewers joining in. Make sure you have a look.

This one is attached to a 12 inch canvas frame for now.
Just in case you can't work it out the picture represents the Gold Coast with Surfer's Paradise skyline and Coolangatta beach with that amazing expanse of sea that stretches to the horizon. DH and I love having lunch at the Coolangatta Surf Club and the view from there inspired this design.

Even though my first thought was to make separate mini quilts I have decided to leave them as unfinished blocks and sew 12 together into a quilt at the end of the year. That way I think I will enjoy it more. The finished blocks will be 12 inches. 

I wanted a way to share my projects but keep the stories separate so I have decided I will just do a new blog for each long term project and put a link to it on my sewing blog. I suppose there is a limit to the number of blogs one can have but I will just keep adding them til Blogger says no more. It just seems a very convenient way to keep a diary for my projects.

See my Year of Mini Quilts Blog for more details.

Unfortunately size matters so I suggest you 'save image as' . It is a jpg. You then insert it into your word processor and if need be reduce the margins of the page a bit then size the image so that the line of the edge is 25cm according to the page ruler.


I am linking up with Jan FridayNightSewIn

Happy Quilting,
Val
Friday, January 25, 2013

One Christmas Item a Month


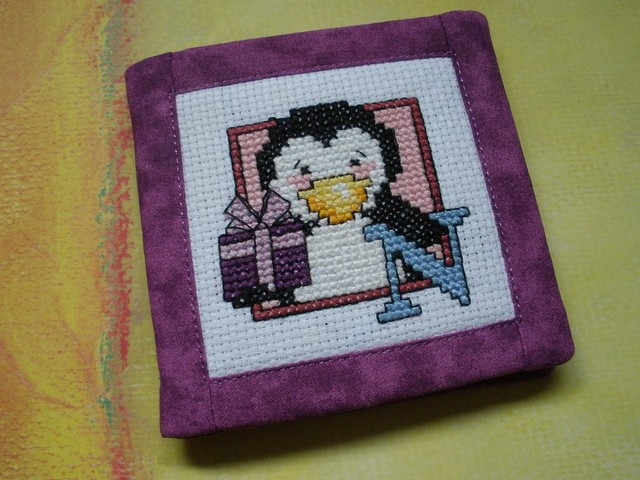
How can it be 25th Jan already! Luckily I have been working diligently on my cross stitch items to make little Christmas presents for the ladies at my quilting group.

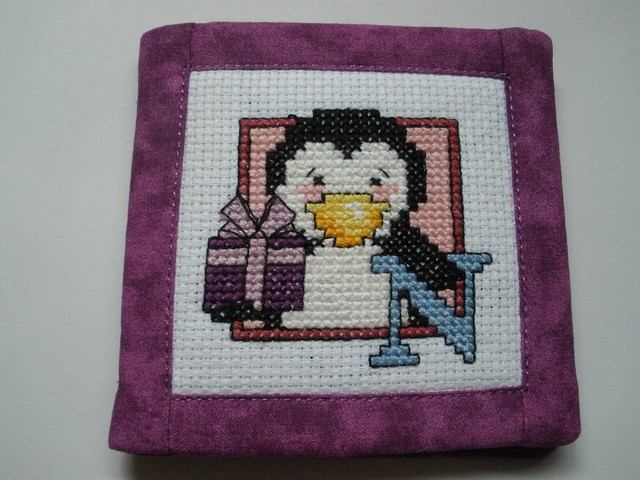
I was able to make up a finished piece into a needle book to show off today. It is so useful to have the 1 Xmas Item a Month group again this year. It gives me just the right amount of motivation without feeling I have to submit an item every time. Thanks Narelle.


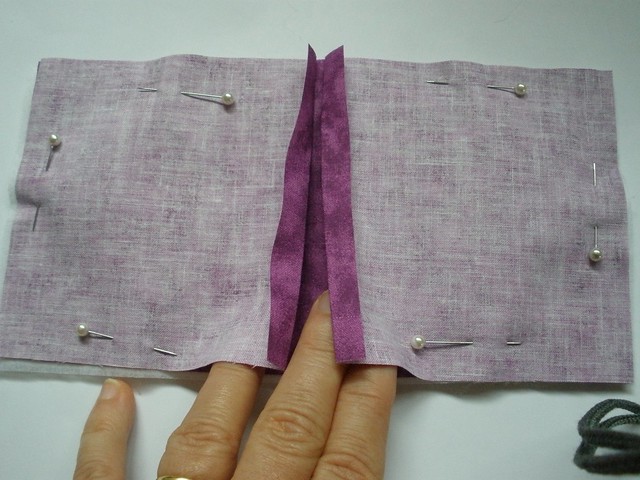
I have worked out that I can make the inside cover with two pieces of fabric so that I can sew all the way around the outside edge.

With the front cover closed I cut two pieces 1/4 inch wider.
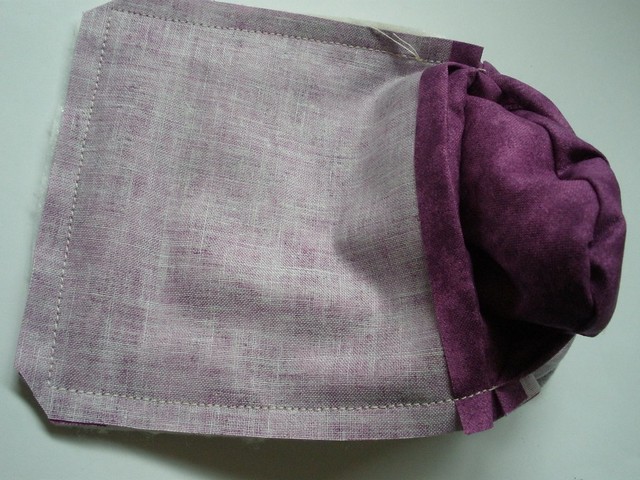
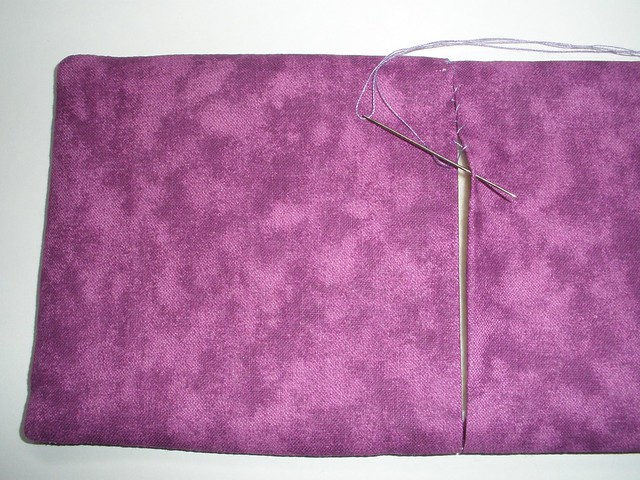
Stitch all around, clip the corners and turn through the gap in the spine.
Stitch the gap by hand.
I stitched close to the cross stitch on the front then did  a square on the back as well, then stitched in the felt pages.

There is a list of Christmas elves participating on the right side bar of Narelle's blog.

Happy Quilting,
Val
Related Posts Plugin for WordPress, Blogger...