My mum collects anything to do with The Twelve Days of Christmas. The local quilt shop near mum's place had fat quarters of this cute fabric by Anni Downs
I decided to make a place mat and two coasters to give to mum for Christmas this year.

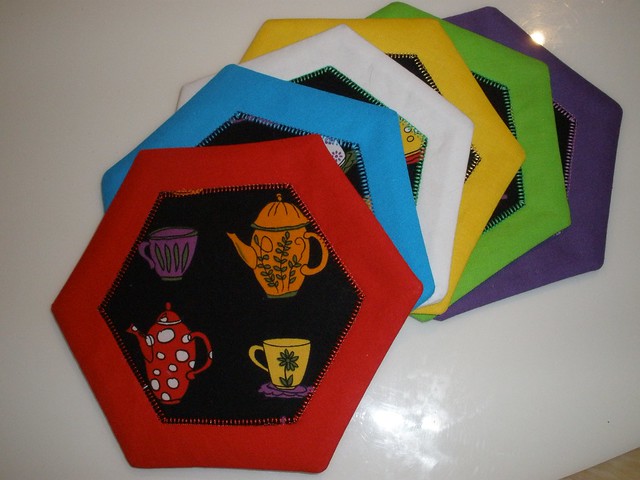
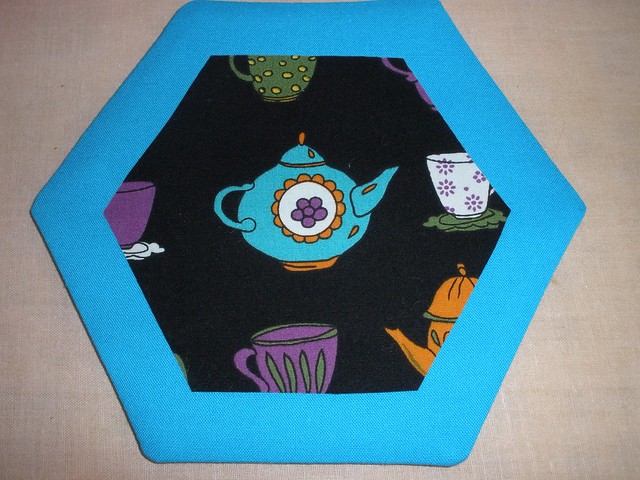
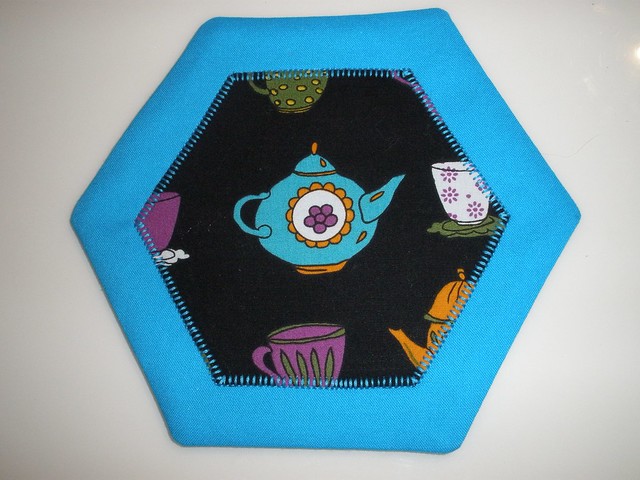
The fabric has the cutest pattern.

I FMQ'd 'Christmas 2014' and 'valspierssews' on the bottom corner. It is visible but not a feature. I still have to soak out the marker pen.

You can just see where I quilted with a pear and a partridge over the centre.


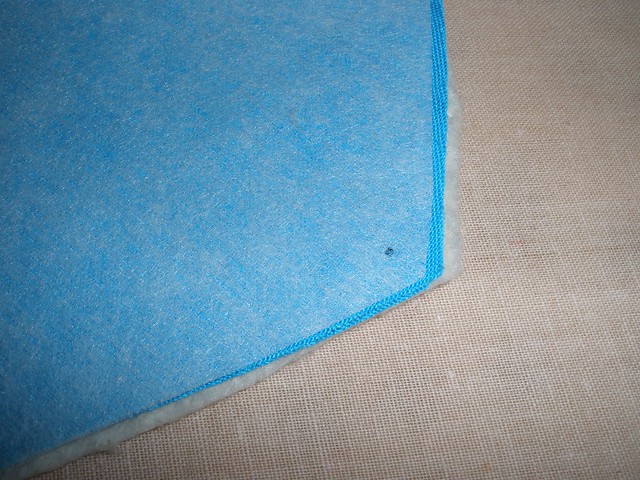
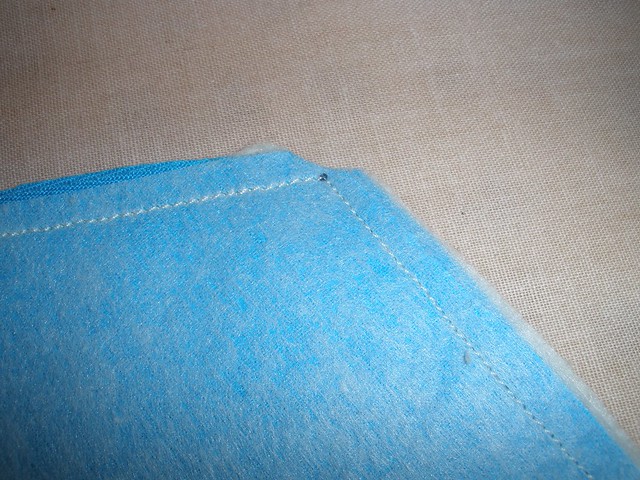
I put a corner label on so the edges are sewn into the binding. The angle is on the fold and I just stitched across it. The backing fabric is cute too. I wish I could afford several metres of this collection.


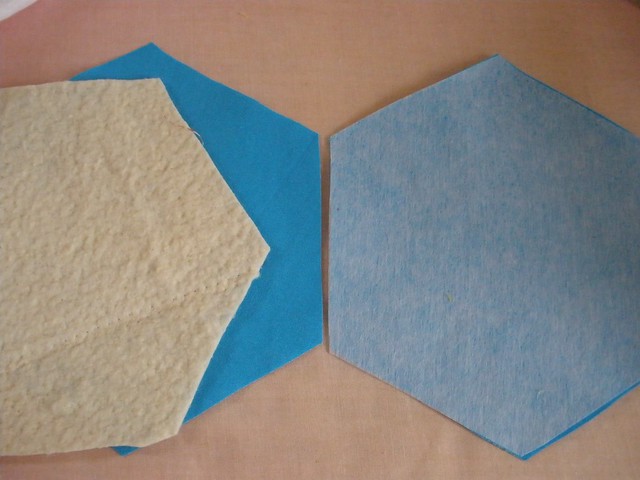
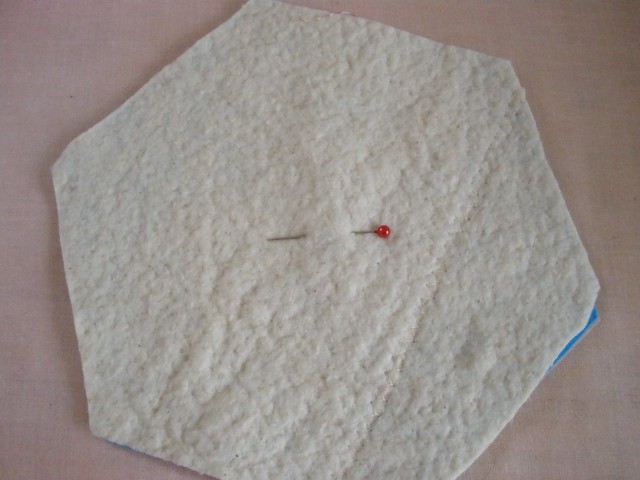
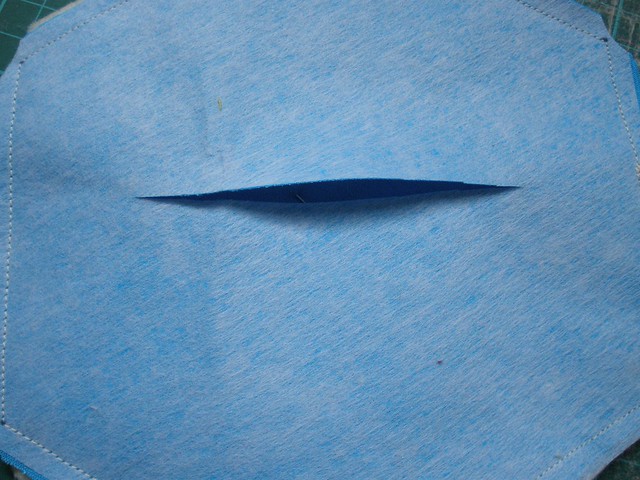
I pieced it with two pieces back and front. I left the diagonal seam mostly open on the back so I could sew all the way around the outside then turn it through the gap. I quilted with a cross, catching the seam in the back.

My other sewing has been doll related. I am supposed to be making some vest samples for the next pattern but just couldn't help making a little tote bag. I hd the idea drawn up in my notebook and I had some new pink fabrics. The bag is about 5" square.
I also had some fun making a little bag decoration.

The back has a zipper pocket perfect for a little girl to use as a coin purse.

My latest doll clothes pattern publication is a dress. See the link in my right sidebar at the top.
I am quite pleased with my finishes this week.
Happy Quilting and Crafting,
Val
I decided to make a place mat and two coasters to give to mum for Christmas this year.
The fabric has the cutest pattern.
I FMQ'd 'Christmas 2014' and 'valspierssews' on the bottom corner. It is visible but not a feature. I still have to soak out the marker pen.
You can just see where I quilted with a pear and a partridge over the centre.
I put a corner label on so the edges are sewn into the binding. The angle is on the fold and I just stitched across it. The backing fabric is cute too. I wish I could afford several metres of this collection.
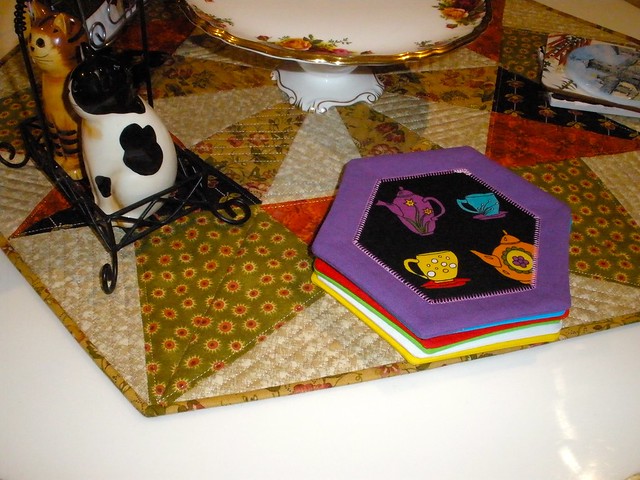
The coaster is a bit bigger than normal so a cup and a biscuit fit on.
I pieced it with two pieces back and front. I left the diagonal seam mostly open on the back so I could sew all the way around the outside then turn it through the gap. I quilted with a cross, catching the seam in the back.
My other sewing has been doll related. I am supposed to be making some vest samples for the next pattern but just couldn't help making a little tote bag. I hd the idea drawn up in my notebook and I had some new pink fabrics. The bag is about 5" square.
I also had some fun making a little bag decoration.
The back has a zipper pocket perfect for a little girl to use as a coin purse.
My latest doll clothes pattern publication is a dress. See the link in my right sidebar at the top.
I am quite pleased with my finishes this week.
Happy Quilting and Crafting,
Val