
I am adding a tea cup story so I can link up with the Tea party at Rose Chintz Cottage.
I don't often buy cutesy tourist mugs but I just couldn't resist this one with all the iconic animals of Scotland. I picked it up in a big souvenir shop just as we left Edinburgh Castle and I really enjoy having a cup of tea and thinking about past trips and future trips to Scotland. I had to carry it safely all the way down to Bath on a two week road trip with my mum then get it home to Brisbane Australia. It was worth all the effort.

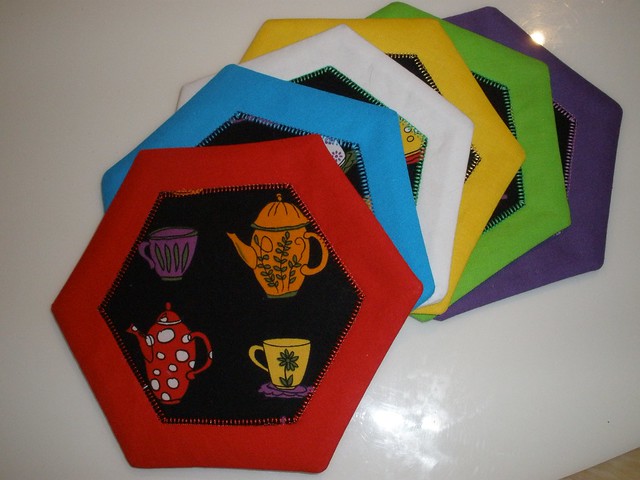
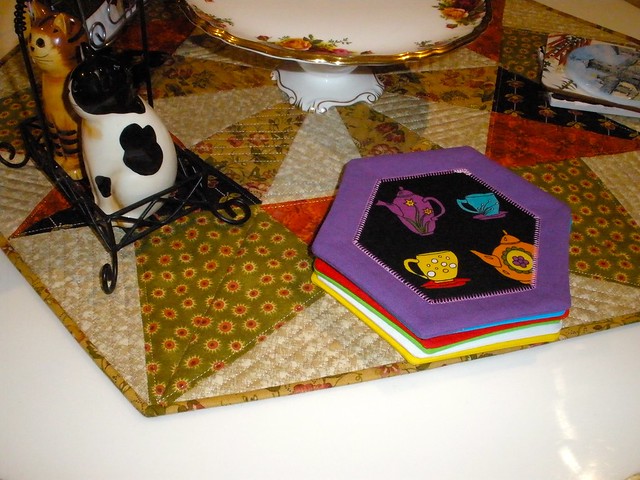
I picked up a craft book on the free table at quilting group on Wednesday and it had a lovely coaster pattern in it. So simple and neat. I have been using this slit and turn method with my pincushions and I have used felt backing for some coasters and the slit and turn method but I hadn't thought of sticking an applique piece over the slit. The pattern is by Julie Nixon and available from Craft Lovers for $4
This gingerbread coaster pattern idea is free at Janome
A large hexagon shape can be downloaded for free at Math - Salamanders. Just scroll down a bit. Add 1/4 inch seam allowance to this one. Draw the smaller hexagon 1 inch in.
Here is a bit of a tutorial.
The interfacing, the helpful pin and the dot guides are my ideas.
Main fabric - cut two large hexagons
Wadding - one large hexagon. (Lately I have been trimming the wadding by a quarter inch)
interfacing - one large hexagon
Feature fabric - one small hexagon using fusible applique paper.
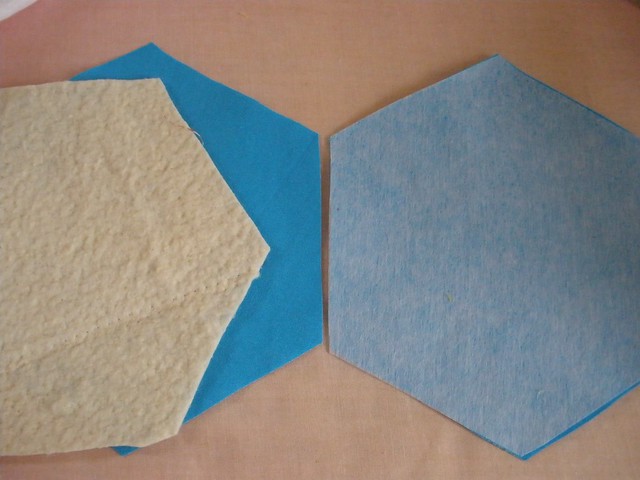 |
| Interface one piece |
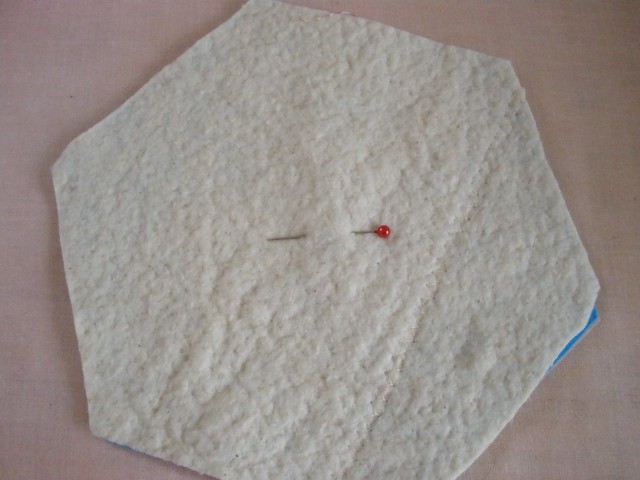 |
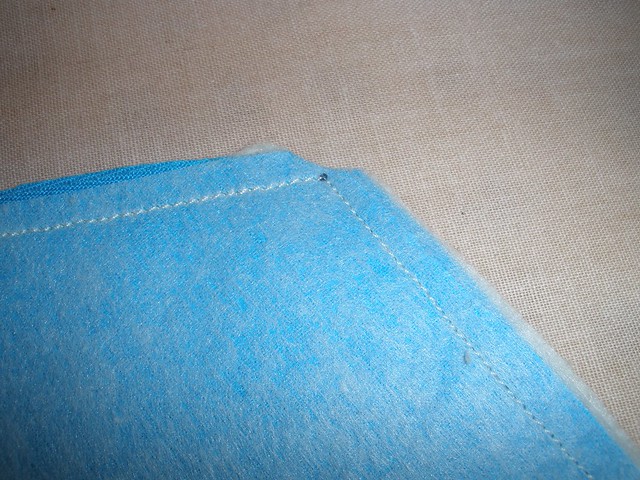
| Pin the wadding to the other piece |
I now cut a 1/2 inch slit in the top piece before sewing and I spray baste the wadding to the other piece with just a squirt.
 |
| Put a little dot to aim for in each corner. |
 |
| Snip all the corners. I used my little curved scissors. |
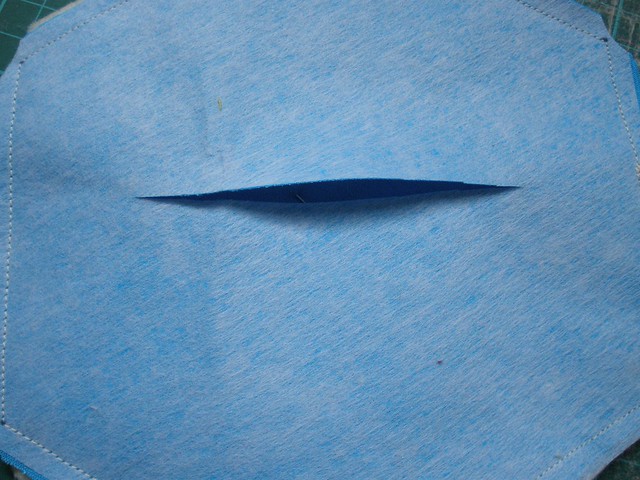 |
| Pull on the pin at the back and the interfaced piece in front to separate the layers and snip the slit. |
 |
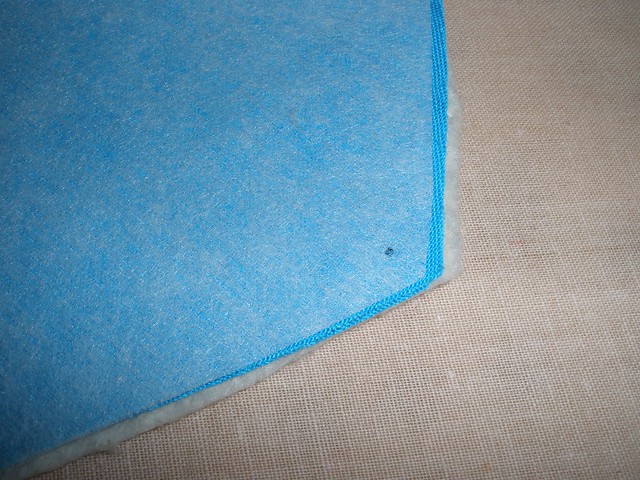
| Turn and press. |
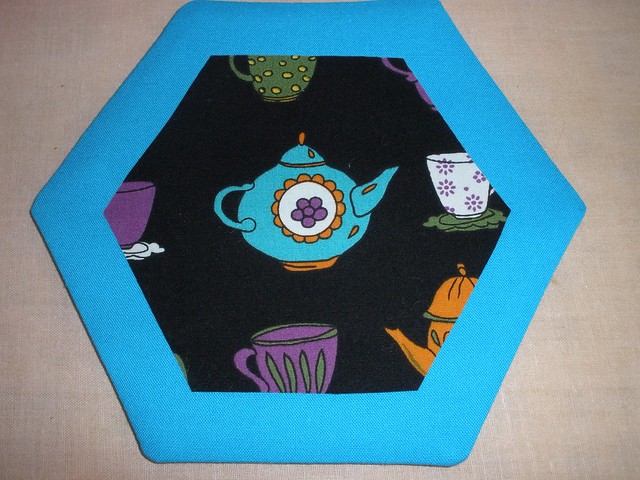 |
| Fuse your applique piece over the slit. |
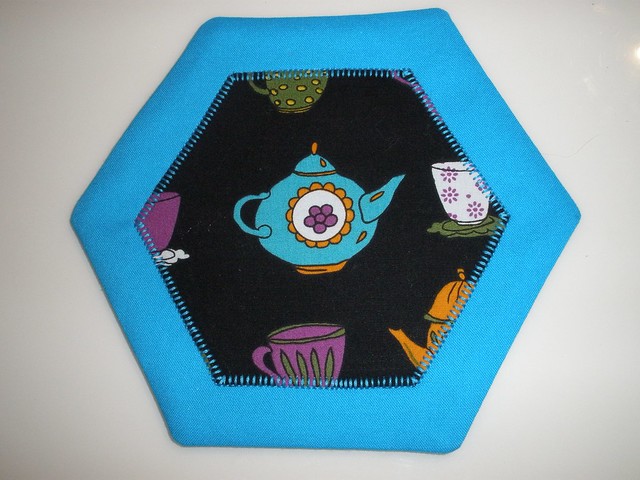 |
| Finish the raw edge. |

More Linking Up
I found a lovely Create-a-long linky party over at Moments with Liz. This first quarter is a living/dining room theme. I thought my coasters would fit in here.
Happy Quilting,
Val
