Showing posts with label zipper purse. Show all posts

Friday, November 6, 2015

Joining in 'Bag It' Week 1

Decided I needed a bit of zippy therapy so I am joining in with the Bag It fun at Elm Tree Quilts. See the button on the side bar.

I am not very good at following instructions so I did fudge this one a bit except for the size.

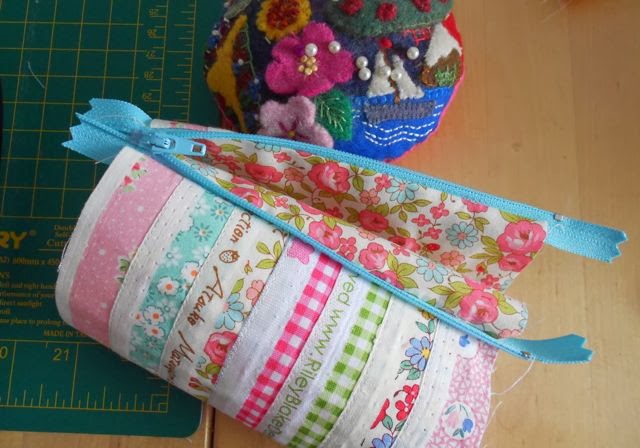
I am trying to use up some scraps.


Happy Quilting and Crafting,
Val

Friday, February 28, 2014

Let's Book It - Feb


What a great challenge this one is. Let's Book It over at Vroomans Quilts.
Dust off those books and patterns and magazines and make those things that caught your eye. Luckily I brought my quilting books with me to the rental house. All my magazines are in storage until the new house is built. There are so many things in those magazines that I want to make.

I bought the Zakka Style book with the intention of making all the projects but what I really liked was the zip open wallet. However, I needed to choose something that wouldn't strain the brain too much so my second favourite project is the house zippy.


I loved that I could actually lay my hand on some coordinating fabrics and some lace and some cute buttons. Don't you love it when it all comes together nicely.


I have used this purse quite a lot just to pop down to the post office. It neatly holds my phone, purse and keys. I put two little pockets inside to stop the keys rubbing on the phone. They each have their own pocket and the wallet purse fits in the middle.


The cute cat button is a souvenir of my travels in the UK. I know it is not unique to the area but it reminds me of the lovely gallery just outside the tile factory in Ironbridge.


So, I am linking up with Let's Book It with Sharon today. She has the cutest little quilt block charms as a prize for joining in.


Update: I have just found Anything Goes Monday in a rather circuitous bit of web surfing. So I am linking up to that too. Maybe I can make it a bit closer to my Monday posts in future.

Please leave a comment on my flickr photo or pinterest pin if you don't go in for google+. I would love to hear from you.
Feel free to pin any of my pictures (hover over) and don't forget to like my posts in bloglovin and +1 my posts in google+. It is so nice to get comments from lots of new people and when we share each others posts and pictures lots more people get to see them outside our usual circles. I think that is really cool.

Happy Quilting and Crafting,
Val

Sunday, February 23, 2014

Zippy Pouches


I am all excited about having a stall at the local Easter Fair market. I have my fused glass jewellery that I want to sell but I couldn't help trying to find something to sew. I tried the tote bag but I think that is not viable so I tried some little keepsake pouches that would be suitable to put my jewellery pieces in. I have finished two and have six more ready to sew up the sides and four more ready to put the zips in.

Production line
While making the 9 patches I cut off the selvedges and I love a good selvedge zippy. In the past I have had trouble sewing the selvedges together in parallel lines so I had to come up with a new method for me.
I had them all laid out and thought it would be a good idea to lay them out on a piece of iron on interfacing to hold them in place. I used my trusty teflon sheet to stop the little overhangs of gluey bits from sticking to the iron and I stuck them all on the interfacing. It was so simple to sew them neatly and in lovely straight lines.


I made two little zippies out of my selvedge fabric.


I cut the lining to match.


Sewed the zip between the outer and the lining then gave it a press.


Next I folded the outer up in front and the lining up in back and sewed them to the zipper.


Undo the zip and turn it all right side out to press around the zipper.


Do the zipper up about an inch then turn it all inside out again. Line up the outers and the linings separately and sew across the zipper on each side. I left an opening in the lining on one side or turning.


Give it a press and a bit of ribbon and voila!


I love zippies and there are lots of great tutorials out there. Here are just a few.

A simple clutch - like mine but a bit bigger.
A variation on the clutch - smaller and with cute curved corners.
A really easy way to do the zipper and lining.
Yet another way to get a really neat zipper.
A pencil case in the same style as my keepsake pouches.
A gorgeous little pleated clutch.
A nice border next to the zipper.
The wide mouth pouch.

You can gets lots of inspiration from my Pinterest board Zippy Things. Why not follow me. I am always pinning zippies.

I finished my latest dish cloth.


And I even found time to break the vacuum cleaner. It is now packed up ready to go off for repair. I think it needs a new motor. Dyson pay for the postage and it isn't even in warranty. They said maybe a few hundred dollars. Sounds better than $700 for a new one.


Make sure you check out those zippy pouch tutorials and anyone sewing along with Welcome to the North Pole don't forget Wednesday 26th Feb is the post day. I will be posting my progress and setting up a thumbnail linky for everyone to share what they have done.

Comment options:
Flickr
Pinterest

Happy Quilting and Crafting,
Val

Friday, April 12, 2013

Sewing update

I have been sewing a lot and loving it.
I have a new block keeper with zips down both sides so it opens out flat but zips up to make a secure tote bag if you want to pop some sewing gear in.


I also made a little shell purse. I put a seagull on it in felt. I have been wanting to use this seagull for a  while. It is from a Bustle and Sew magazine.


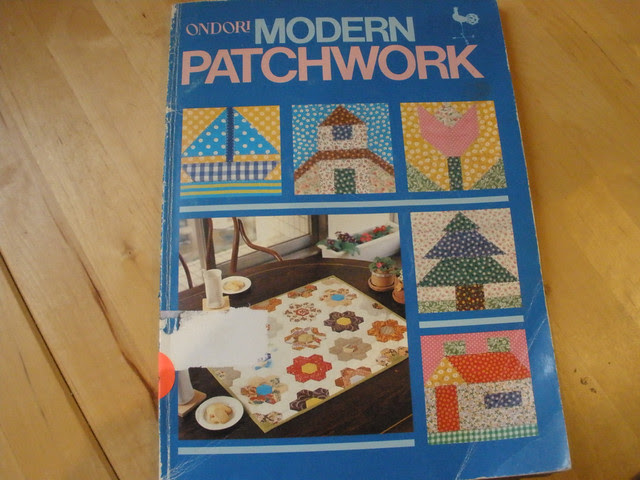
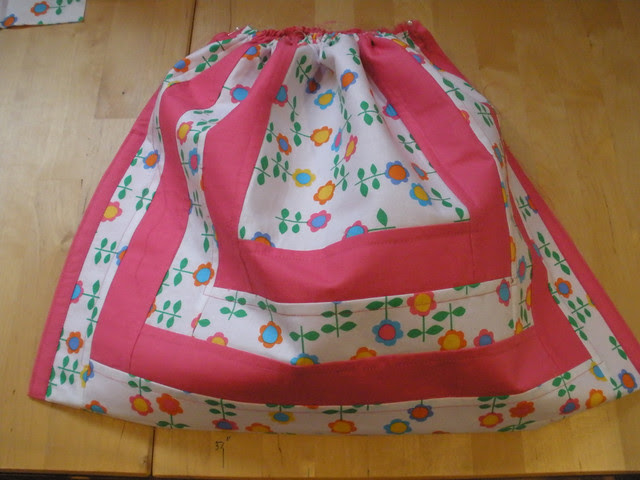
I started a bag from a book I got from the quilting group library. I used 2 inch strips and the centre piece is 6 1/2 inches x 8  inches. All seams are 1/4 inch. I don't want to publish the pattern but if you are keen I can give better instructions. Just let me know.


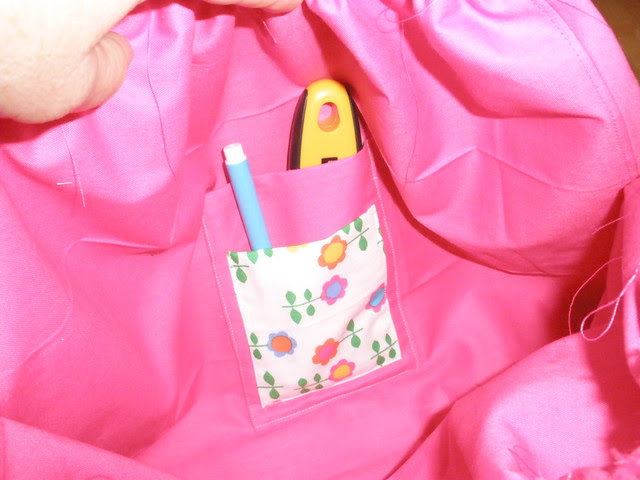
Phone and lipstick pockets
I finished block three of the Who Knows BoM at Fat Cat Patterns. (See my side bar.)


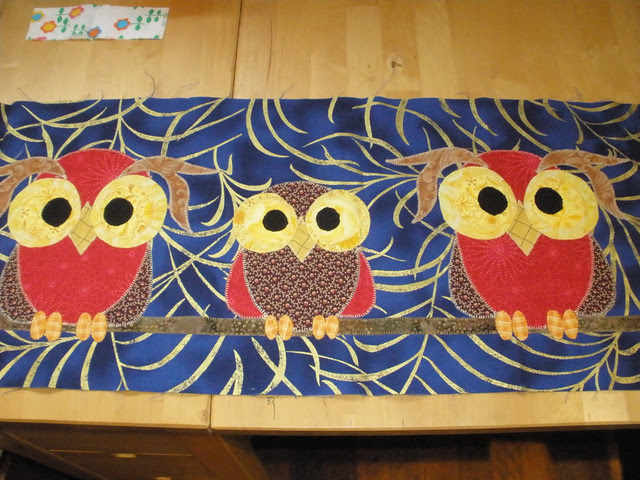
I have been working on my Debbie Mumm sampler from 2012. I have been really enjoying making the cute pieced blocks. The fabrics are nearly all scraps so between this and the owls I am using quite a lot of scraps.


I made a cardboard curve ruler for doing curved corners. It will make do til I can buy the plastic one that I can use the rotary cutter with. I love gadgets.


I worked on Nanna's farm a bit doing the applique on the next column. I have already sewn the other columns ready for applique.


I bought two new books and have made friends with Shirley at Colours of a Butterfly  who wants to try making the quilt with the watering cans on it to match the pillow on the front cover of Country Cottage Quilting.


Shirley is great at cross stitch but hasn't done any patchwork so we are starting with the sewing set that has the drawstring bag from the same book. We are going to start the needle book in May and do the bag and scissor keep over a month or two. Then we will do the pillow then the quilt. If anyone wants to join in or post pictures of what you have already made I will have a go at setting up a flickr group. This is a first call. I will post about it again.

Happy Quilting,
Val

Friday, November 30, 2012

A Dumpling Challenge ! Plus Update

What was I thinking!!! I have challenged the zipper purse queen to a zippy challenge. I discovered that Sandra from Suddenly Sandra has been wanting to make a dumpling purse for a while now. I too have been eying off the tutorial and doing dry runs in my sleep. I figured I just had to make the leap like I did with my Nanna's Farm quilt so the challenge is on.

We will be using the dumpling pattern from Michelle Patterns. It is a free PDF download pattern and a good tutorial.


Everyone is welcome to join in. We plan to make them this weekend but I am thinking a week may be a good idea. This challenge will be fairly low key since I know nothing about linkies. Perhaps this is a good time to learn and maybe there can be more zippy challenges in the future.

Update: On Friday 7th Dec I will do a post with a name linky so you can share a post about your dumpling.


Tuesday, November 13, 2012

A Tangle of Threads

I have been working on three different stitching projects and I just can't believe how highly charged those embroidery threads are. I put them down and zap! they form into a clump or a Tangle. A Tangle is the technical term for a group of embroidery threads and it takes quite a lot of rangling to sort them out.

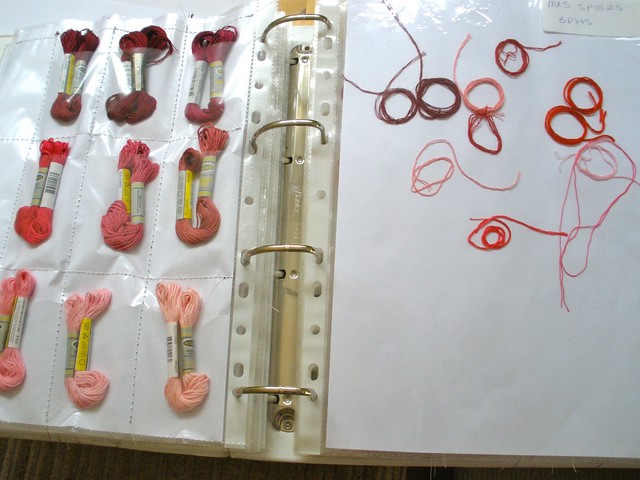
A while back I posted about sorting out my embroidery threads with plastic display sleeves and a bit of paper and stitching. Well I have blessed the day I did that many times over when I have been looking for embroidery threads for a particular project. I thought it was about time to take stock and add my new threads to the system as well as tidy up the Tangle.

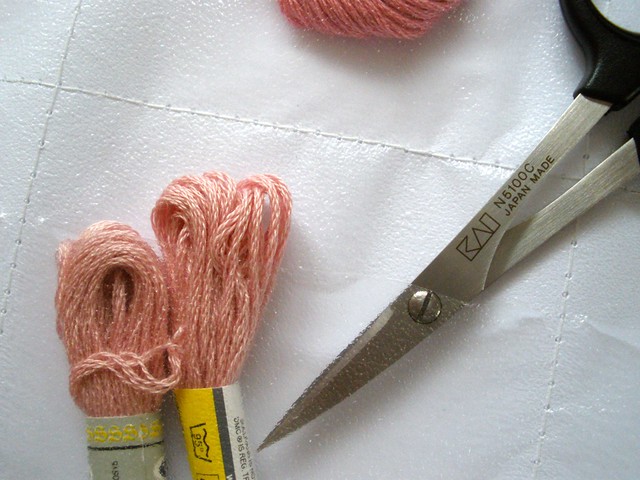
I put a piece of printer paper in the sleeve, sew it across the top opening then at one third intervals across and down. With my sharp little scissors I slit across each pocket a bit below the row of stitching. The point goes in easily and just slices across. Don't cut the paper. Make pockets on the back too.


All those little bits that are left over I roll up around my fingers and pop them in another sleeve. They stick to the plastic and stay in place quite well.


Ribbons Too
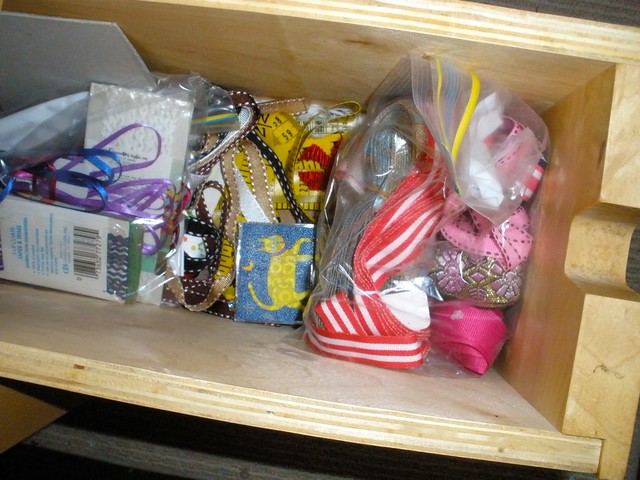
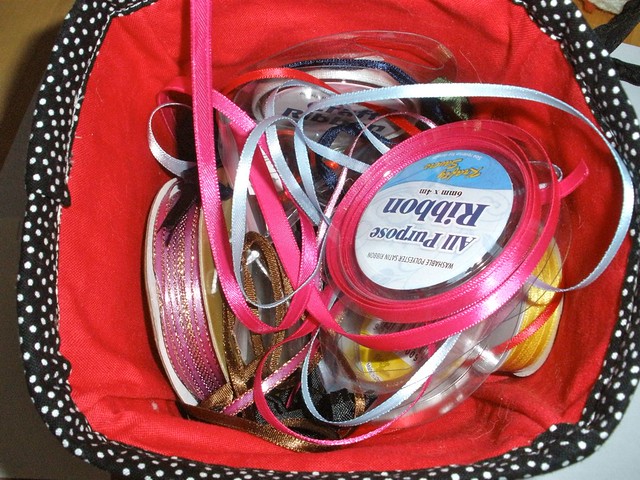
While doing that I thought it would be a good idea to straighten up all my ribbons too. So I divided each plastic sleeve into four sections. At first I just pushed the folded ribbon in but that was no good. I needed a spool to wind them on. I had a sheet of medium cardboard in the spare room and cut it into flat winders. To hold the end I used plastic paper clips that were just sitting in my drawer. It feels so good to be able to look at all my lovely ribbons now.

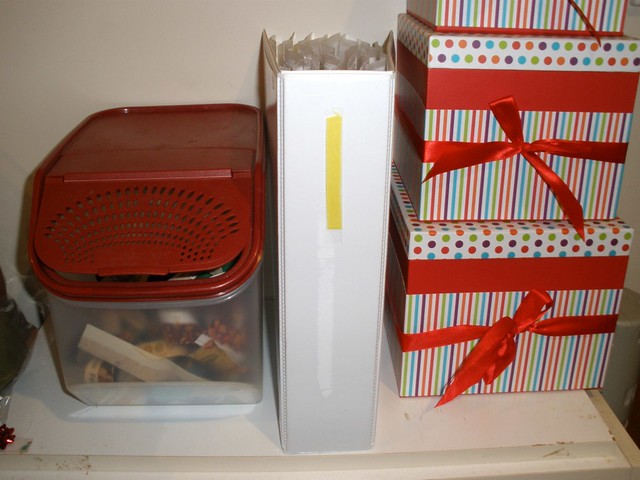
They went from a bag and a drawer and a box to a beautiful display folder.

Before

After
I put lots of photos and a description of what I did into a PDF that you can file away for a rainy day.


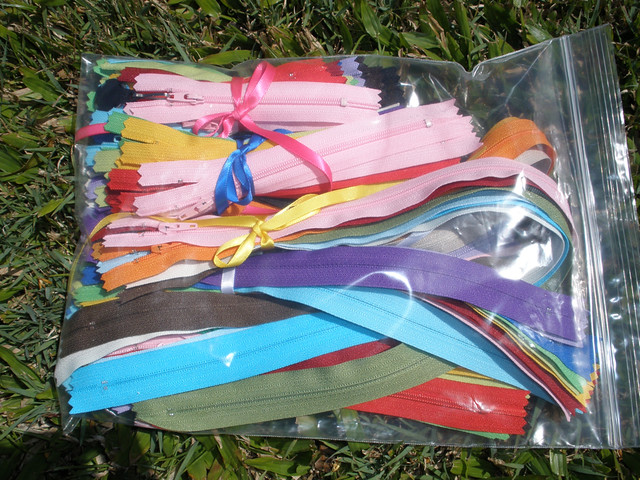
While writing this post my zippers arrived in the post. I am so excited. I will be checking my 'zippy things' board on Pinterest and start zipping up a storm :D
Don't they look fabulous. There must be a cool way to organise these babies.


Related Posts Plugin for WordPress, Blogger...