Showing posts with label slit and turn method. Show all posts

Monday, December 9, 2013

Little Christmas bits 8

Getting behind again! I did finish the stitching yesterday but had to spray it with water and let it dry before sewing it.
I found 4 delightful 'chickies running around getting ready for Christmas' stitcheries at Bee Tree Designs quite a while ago now. She has a page of free patterns. If you scroll down a fair bit you will get to the chickens.
I made a tree decoration with the baking chicken a few years ago. This time I stitched the present toting chicken and made it into a slit and turn hexagon coaster. Nearly forgot - I enlarged the original design to 125%. I find bigger designs easier to stitch.


Happy Quilting and Crafting,
Val

Saturday, March 9, 2013

Cross stitch


I just love watching the picture come into being.
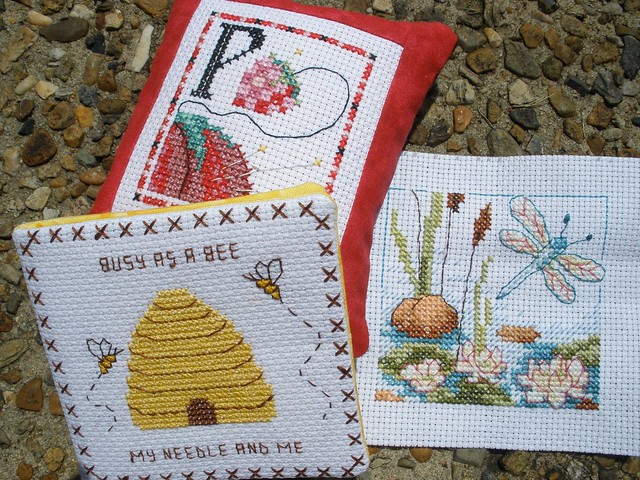
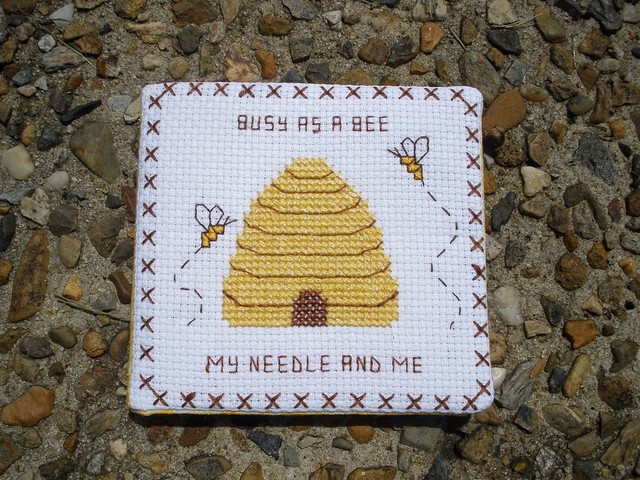
The Busy Bees needle case uses the chart I got from cross stitch happy. Under the archives in the right side bar is a list of all her free charts. There are lots of nice ones.


P is for pins is free from Brookes Books Publishing. There are charts for the whole alphabet. Scroll down the page. The back is felt so I can use the slit and turn method. Make a little slit in the middle of the felt backing then with wrong sides together sew all around. Enlarge the slit enough to turn. I fill most of the cushion with rice mixed with some lavender then finish off with stuffing so the rice stays in while it is sewn up.


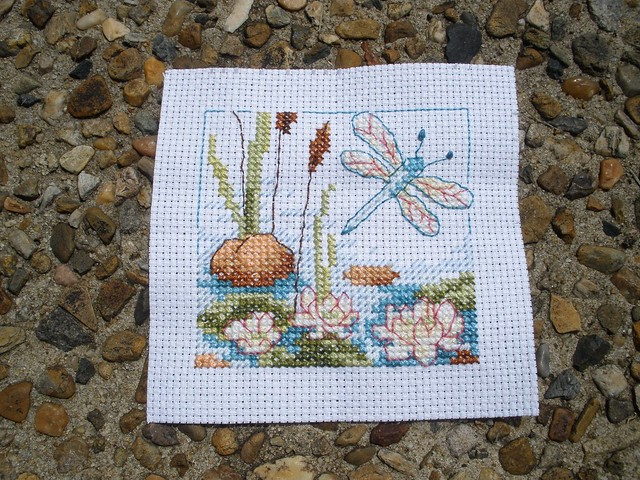
This dragonfly and pond is one I found on Pinterest. It will be another pin cushion.


I have also been making the mug bag that Carin found at Red Brolly. Hers looks great. Visit her blog for the link to the free pattern. I haven't quite finished it yet. I will show it in my next post.

I am going to go to the Craft and Stitches show in Brisbane on the Thursday in a few weeks time. I hope to get something nice to use as a give away prize for all my Australian followers. It is just too expensive to post things overseas so maybe I will get a gift voucher for international followers. I will have to think about it. It is really nice to be part of such a friendly blog community.

Happy Quilting,
Val

Monday, January 28, 2013

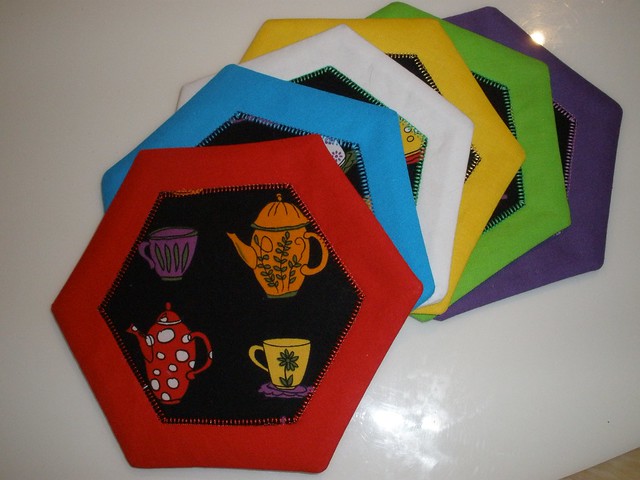
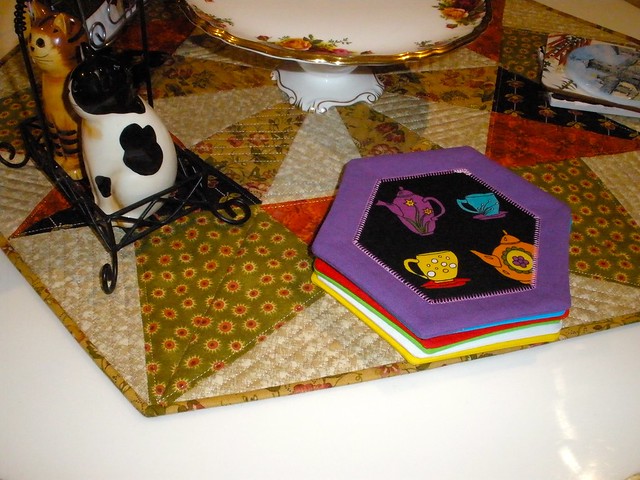
Hexagon Coasters - slit and turn method

I am adding a tea cup story so I can link up with the Tea party at Rose Chintz Cottage
I don't often buy cutesy tourist mugs but I just couldn't resist this one with all the iconic animals of Scotland. I picked it up in a big souvenir shop just as we left Edinburgh Castle and I really enjoy having a cup of tea and thinking about past trips and future trips to Scotland. I had to carry it safely all the way down to Bath on a two week road trip with my mum then get it home to Brisbane Australia. It was worth all the effort. 


I picked up a craft book on the free table at quilting group on Wednesday and it had a lovely coaster pattern in it. So simple and neat. I have been using this slit and turn method with my pincushions and I have used felt backing for some coasters and the slit and turn method but I hadn't thought of sticking an applique piece over the slit. The pattern is by Julie Nixon and available from Craft Lovers for $4

This gingerbread coaster pattern idea is free at Janome

A large hexagon shape can be downloaded for free at Math - Salamanders. Just scroll down a bit. Add 1/4 inch seam allowance to this one. Draw the smaller hexagon 1 inch in.

Here is a bit of a tutorial.

The interfacing, the helpful pin and the dot guides are my ideas.

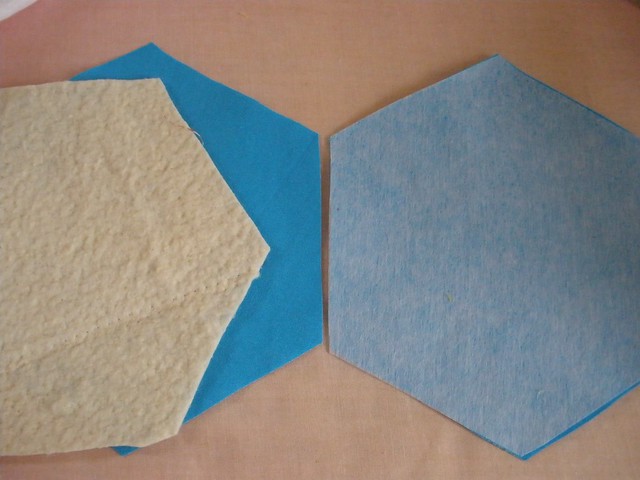
Main fabric - cut two large hexagons
Wadding - one large hexagon. (Lately I have been trimming the wadding by a quarter inch)
interfacing - one large hexagon
Feature fabric - one small hexagon using fusible applique paper.

Interface one piece
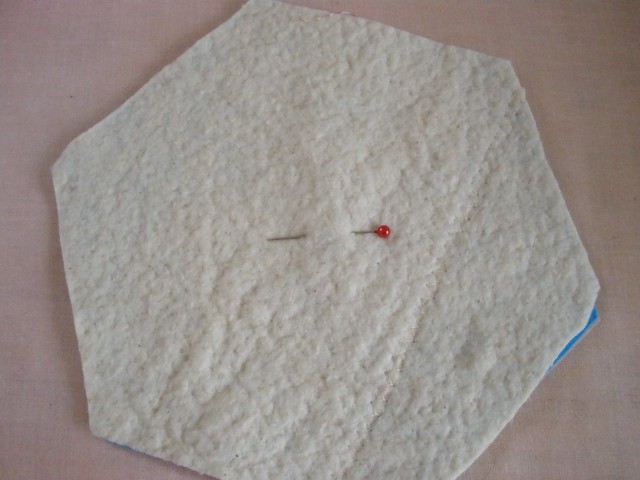
Pin the wadding to the other piece
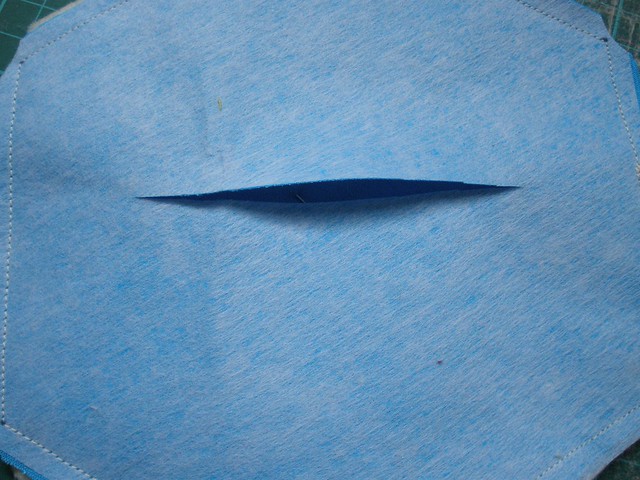
You need this pin to help you separate the fabric layers when you cut the slit. It is underneath as you sew so be careful not to drag it out. I had a lot of trouble separating the fabric layers on my first one. You just can't feel if you have one piece or two through the interfacing and wadding.
I now cut a 1/2 inch slit in the top piece before sewing and I spray baste the wadding to the other piece with just a squirt.
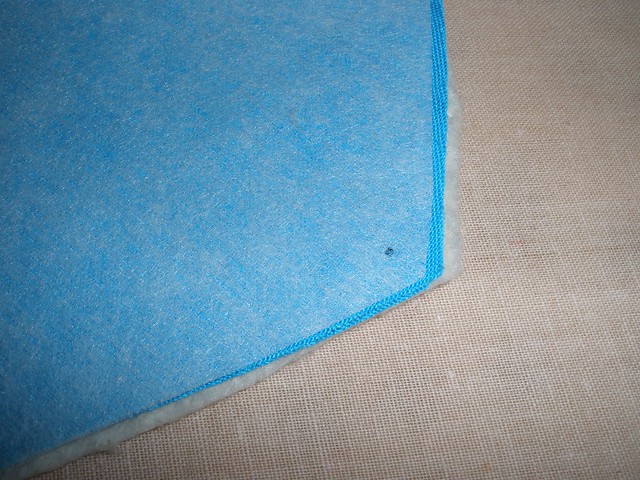
Put a little dot to aim for in each corner.
Snip all the corners. I used my little curved scissors.
Pull on the pin at the back and the interfaced piece in front to separate the layers and snip the slit.
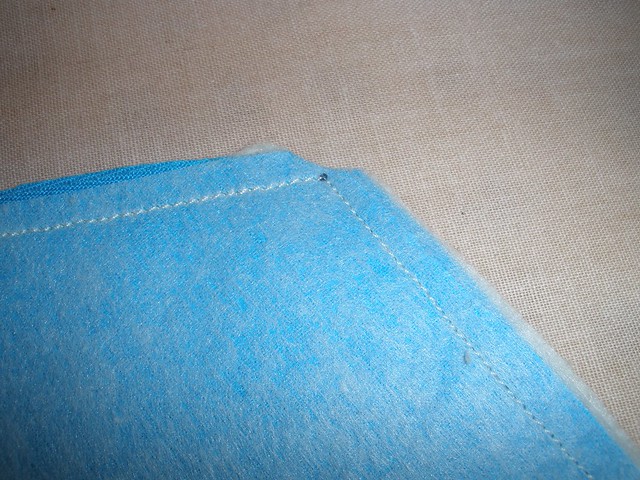
Turn and press.
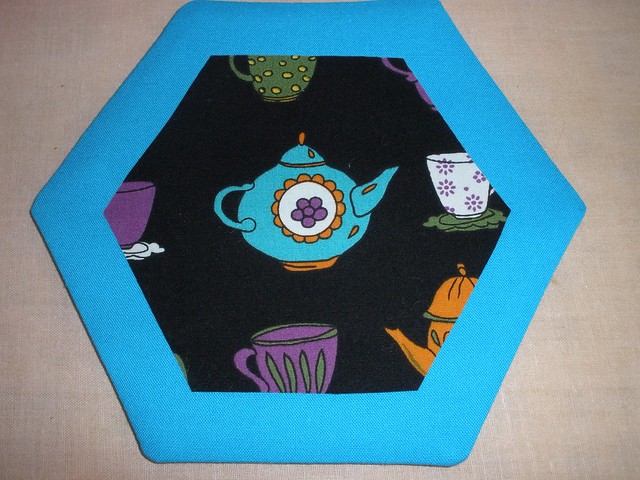
Fuse your applique piece over the slit.
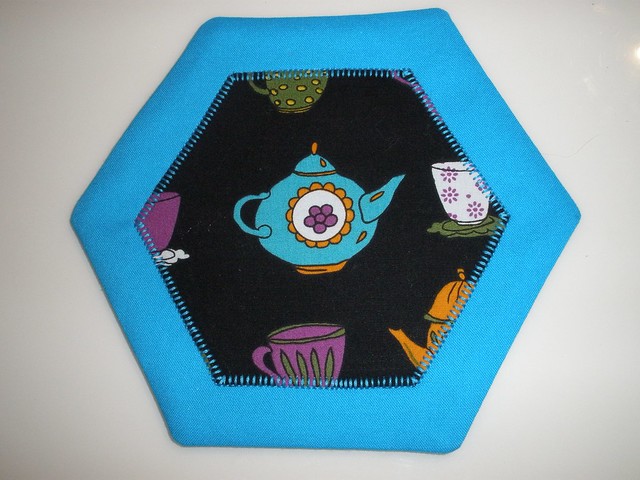
Finish the raw edge.


More Linking Up
I found a lovely Create-a-long linky party over at Moments with Liz. This first quarter is a living/dining room theme. I thought my coasters would fit in here.

Happy Quilting,
Val
Related Posts Plugin for WordPress, Blogger...