Showing posts with label organising. Show all posts

Tuesday, January 6, 2015

Some Domestic Sewing - Knitting Needle Organiser

As my sorting out goes on I have taken time out to tidy up my knitting needles. I didn't want anything too fancy that would take me too long to create. I looked around at what I could lay my hands on and decided on the stiff bag interfacing as a background then rather than make pockets I settled on elastic because I have lots of that sitting in jars on my window sill.
I used pins to make a 1" slot to make sure the needles would slip in easily. I increased the slot size to 1 1/4" for the second half since the needles get bigger.

This is how it turned out.


They slip up and down so I have stitched up a draw string bag to hold them rolled up. I had to use the purple ribbon because that was the only ribbon I could find. I have a big zip lock bag of ribbons in a box somewhere. I only had them out last week and now I have no idea what box I popped them into to stop them getting in the way. I will find them soon as I go through the boxes a final time.


I have a pile of the bigger needles to sort out tomorrow.


The crochet hooks and the double pointed needles are another problem for another time. I will just store them in the same box with the knitting needles for now.

I printed out the first stitchery for the vintage kitchen free bom. Next I have to find some nice fabric to use.
I have also been busy trying to get my new doll design pattern ready for release. I have a little clear passage to roll my chair from the sewing machine to the computer so the sorting and packing continues each day too.
I made my first main meal from one of my cook books yesterday. It turned out so good. I have photos and I will share the recipe cut down for 2 soon. It has been years since I have done any serious cooking. It was such fun using some of my many kitchen utensils.

Happy Quilting and Crafting (and now Cooking),
Val

Sunday, February 9, 2014

Beginning My Home Planner

I downloaded the free samples and I searched for free pages but in the end I bought a lifetime membership to Mom's Toolbelt so I would have a coordinated look and the whole range of pages and calendars.


I printed out the Summertime cover then decided what I wanted to organise. I have tabs for Goals for 2014, Housework Routine, Meals and Shopping, Budget and Inventory.


I printed out a Summertime divider. I cannot say enough how great it is to look up my goals pages and get something done. I spent an afternoon writing my goals for Feb and Mar and now I don't need to worry about wasting time or forgetting what needs to be done. Mom's Toolbelt has PDFs that you can put your own text on. This planner is one of several layouts.


I have a little parsley plant on the back deck now and because I had these goals written before we moved I also have a multi planter herb pot with me ready to plant some winter herbs in a few months time.
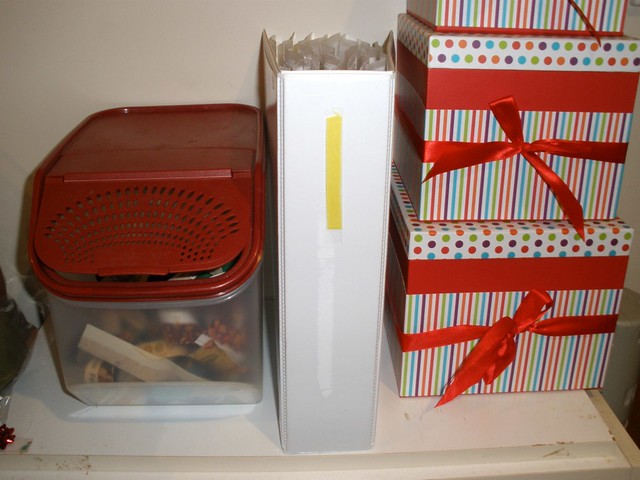
My folders sit on the pantry shelf in our rental house where I can easily access them. This shelf is just along the meals room wall. They will be on our office desk in the new house. The Mom's Toolbelt spines come in different sizes and you can print your own titles on and save the file. At present I have a Contacts folder, a New House folder and My Home Planner folder set up nicely. I have other folders still in the process of being put together for lots of personal papers.


Along with my lifetime membership I have access to affiliate links (I get a % if you visit with my link and then buy something) . I don't hesitate to recommend the Mom's Toolbelt printables because they have really helped me get more out of my time as well as given me peace of mind that what needs to be done is getting done.


Comment options:
Pinterest
Flickr

Happy Quilting and Crafting and Organising,
Val

Monday, February 3, 2014

Scrappy Stars at Scrap Happy

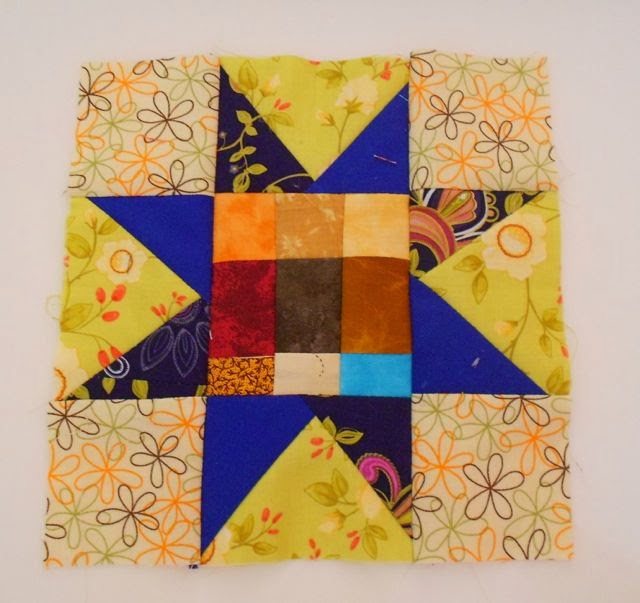
I am just in love with stars at present so I couldn't miss making my second scrappy star for the year. This one is called Green mountain star and has lots of pieces. The background is quite large so I had to use some from my larger pieces box for that. While looking for something dark for the middle star I came across a fat quarter that I have had for some time and it was perfect. The little points were just right for some little scrappy pieces so I fished out a couple of charm squares and scraps of orange that seemed to go well with the suns in the blue fabric.


I have been wondering if it is better to press the many little seams open or press them to the side but after this star I think I will nearly always press my seams open. It just seems to give a smoother finish on the right side. It takes a bit longer to do but I can handle that for one star a month.


I got the star pattern from That's Sew Julie. You can download the tutorial as a PDF.
I have been collecting some different types of stars on my favourite quilt blocks Pinterest board. I am amazed at how many types there are.


I have so many sewing projects and other projects I want to get done this year so I have turned to the web for ideas on how to set goals and organise myself. 


I found some great pages at Mom's Toolbelt that I tried out and then decided to buy a life time membership that entitles me to any updates she does and new calendars each year. I love her designs. I have incorporated a few other free pages from around the web but Mom's Toolbelt  gives the folders a uniform and organised look. The membership enables me to use an affiliate link and since I think the product is great I figured I may as well use it. Click the thumbnail to visit Mom's Toolbelt.


I am linking up to Majas Paradise with my scrappy star this month.
There are some great links from last month here.

Other comment options:

Happy Quilting and Crafting,
Val

Tuesday, February 26, 2013

Christmas house


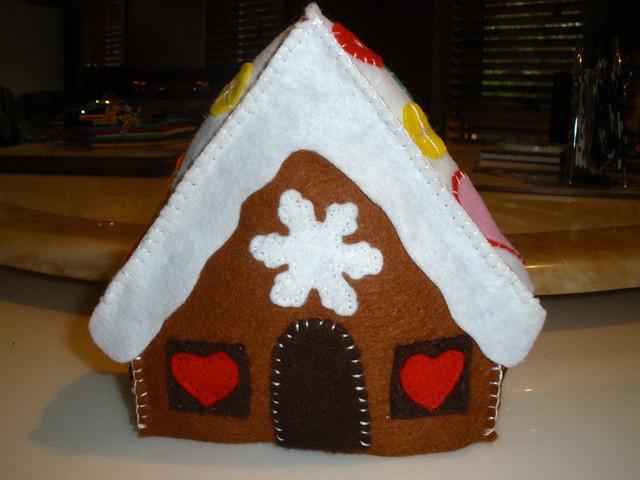
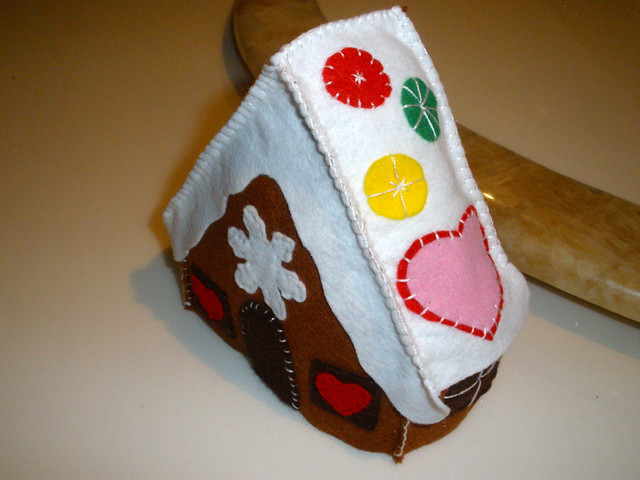
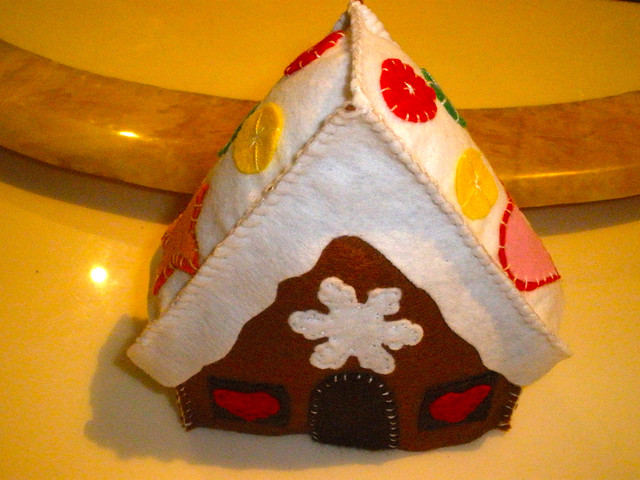
I have managed to make a felt decoration to put away for Christmas in between all the cleaning of the house and boxing up my home. It is so weird in the house with just the furniture. The only personal items I can see are some treasures I have left in my display cabinets. After the agent takes the photos I am definitely putting my tea things back out in the kitchen.

I so love my felts and I couldn't resist the gingerbread house that I found on Pinterest. It is a free pattern at Craft Ideas
I did it in thin felt so I will have to prop it up a bit with some cardboard inside.


I have been adding progress posts on my Summertime quilt blog. It is a wonderful felt quilt. I posted some house pictures on my housework blog. The routine has suffered a bit with the extra packing up and some maintenance required to make the house perfect. I will be falling back on the routine to keep things looking great til we sell.

I am definitely going to start a new free stitchery BOM called Adventure found at Pretty P and Mamma B Designs

We have another sewer joining the North Pole QAL. Donna has just got the book and is keen to start. When I looked at Donna's blog I saw that she is crazy about BOM's and she is making some wonderful quilts. She has a thing for Christmas quilts too. Check out her blog.

A big thanks to Narelle of Pins and Whiskers for hosting 1 Xmas Item a Month. It is like a Christmas sew along and really helps me to focus.

I have just been thinking...
I tend to use my computer a lot:

  • I have been using Google plus just to make a quick post about something I think my blog friends might be interested in. 
  • I have been using my quilt diary blogs to post about every little bit of progress I am making with my quilts this year. 
  • I use my housework blog to make me feel good about the work I put in to make my place clean and comfortable. 
  • I use the right side bar to remind myself of things that I must buy or must make.
  • I use Pinterest to collect 5 lifetimes worth of things I want to make.
  • I also use my 'save image' a lot on my ipad to collect pictures of finished items and ideas to save in 'Photos' in lots of 'albums'. A bit like my own Pinterest but I don't need the links.
  • Paypal also gets a bit of a beating and I just love internet banking.
  • I use Flickr to store most of my blog photos. Even with the free version where you can't see all your photos they still show up on my blog posts because the link still works. I recently took the free upgrade to Pro for three months that they offered as a Christmas present and will probably pay to continue it. I have uploaded lots of photos of my possessions to keep safe for insurance purposes in private sets and will most likely upload all my photos to store online as well as keep a backup on DVD.
  • I am considering buying a drawing tablet so I won't need to have visual diaries for my designs.   Shelf space is hard to find.
  • I have just thought that I really need to scan all the design bits and pieces I have into the computer. I have trouble working out which folder to put things in. Then I can't find them later and just forget about them. It would be much easier to have a nice written list of categories for folders on my computer and it is also possible to search for files at the click of a button. Would I be game enough to throw away all my paper pages then? I will definitely have to think about that before I do it :)

Time for a computer break now.
Happy Quilting,
Val

Tuesday, November 13, 2012

A Tangle of Threads

I have been working on three different stitching projects and I just can't believe how highly charged those embroidery threads are. I put them down and zap! they form into a clump or a Tangle. A Tangle is the technical term for a group of embroidery threads and it takes quite a lot of rangling to sort them out.

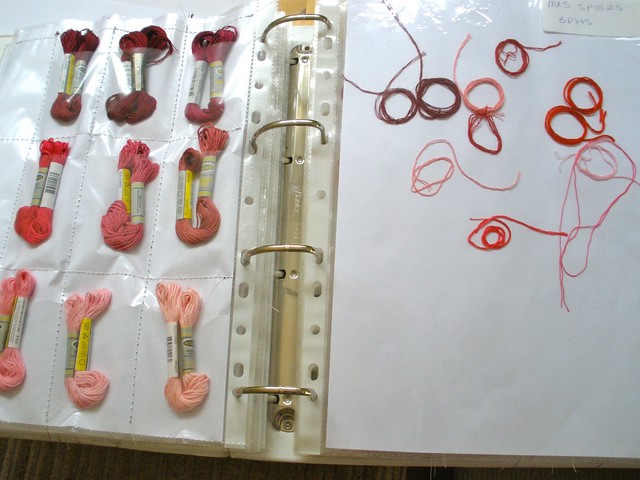
A while back I posted about sorting out my embroidery threads with plastic display sleeves and a bit of paper and stitching. Well I have blessed the day I did that many times over when I have been looking for embroidery threads for a particular project. I thought it was about time to take stock and add my new threads to the system as well as tidy up the Tangle.

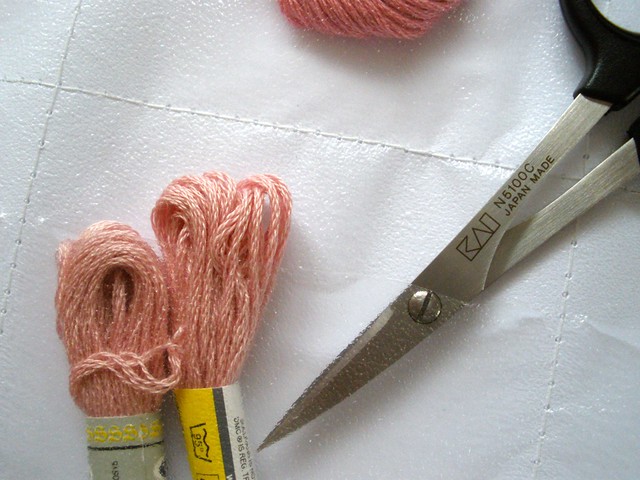
I put a piece of printer paper in the sleeve, sew it across the top opening then at one third intervals across and down. With my sharp little scissors I slit across each pocket a bit below the row of stitching. The point goes in easily and just slices across. Don't cut the paper. Make pockets on the back too.


All those little bits that are left over I roll up around my fingers and pop them in another sleeve. They stick to the plastic and stay in place quite well.


Ribbons Too
While doing that I thought it would be a good idea to straighten up all my ribbons too. So I divided each plastic sleeve into four sections. At first I just pushed the folded ribbon in but that was no good. I needed a spool to wind them on. I had a sheet of medium cardboard in the spare room and cut it into flat winders. To hold the end I used plastic paper clips that were just sitting in my drawer. It feels so good to be able to look at all my lovely ribbons now.

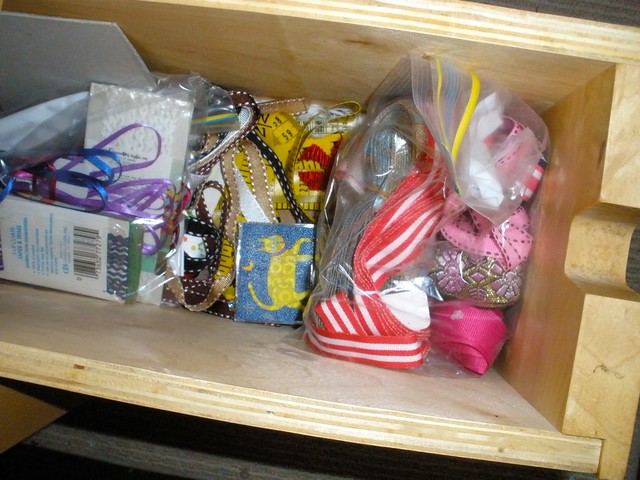
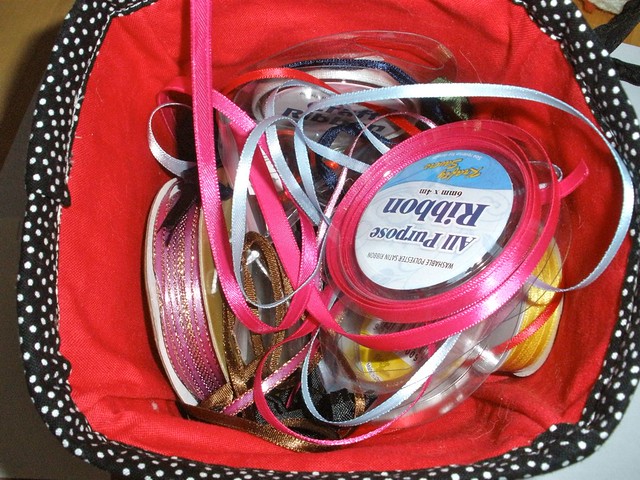
They went from a bag and a drawer and a box to a beautiful display folder.

Before

After
I put lots of photos and a description of what I did into a PDF that you can file away for a rainy day.


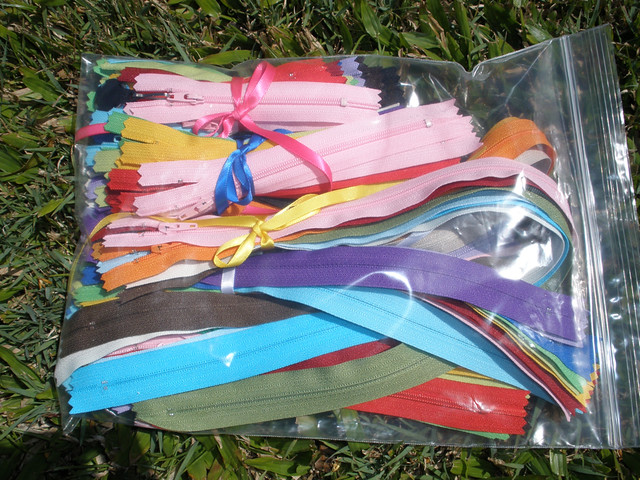
While writing this post my zippers arrived in the post. I am so excited. I will be checking my 'zippy things' board on Pinterest and start zipping up a storm :D
Don't they look fabulous. There must be a cool way to organise these babies.


Related Posts Plugin for WordPress, Blogger...