Showing posts with label mug rugs. Show all posts

Wednesday, October 21, 2015

A Little Coffee Mat

Coffee mat by valspierssews

I decided to make mum a coffee mat to put on her glass table outside when she has her morning coffee out the back. It is difficult to think of Christmas presents for her so this will be it.
I go down to visit her once more before Christmas so I need to have it ready.
I have a collection of cup and saucer drawings that I traced off photos so I picked a nice shaped one. I also liked the bit of design on the cup.

I cut a 10 1/2" square then cut 2 1/2" strips 2 x 10 1/2" and 2 x 14 1/2". You must measure and cut them to make the mat square.
I like to press my seams open.

Coffee mat by valspierssews

I made a one piece applique of the cup and saucer then drew in the details with my air erasable pen. It was easy to free motion over the design.

Coffee mat by valspierssews


Coffee mat by valspierssews


Coffee mat by valspierssews

I glued the wadding and the backing on with 505 basting spray.

I used a 2 1/4" wide strip to make the double fold binding and folded it using my electric bias machine.

I stitch the binding onto the wrong side stopping 1/4" before the corner, do a back stitch, then with my needle down turning to direct the stitching out to the corner. That is the only different step all the rest is the same. I find this little angled stitching makes mitring the corners so easy.

Coffee mat by valspierssews

Here it is all done. I love it. It was quick and easy so it doesn't have to be treated like a treasure. I know mum will like it.

Coffee mat by valspierssews

Happy Quilting and Crafting,
Val

Thursday, January 2, 2014

Do I cut up the tea towels? Yes!


My DD1 gave me some Christmas presents wrapped in gorgeous matching tea towels from Target. One was red and white check, one was red with white spots and one was white with a red line design and the fancy rick rack border.
My tea towel hangs on the back of the pantry door so it doesn't really get seen much so I decided to cut them up and make three sets of matching placemats or tray mats, coasters, napkins and mug rugs.
This is the basic layout. I allowed 2 cm extra on the edges that would need hemming. The place mat size was based on the size of my trays. I found in the past that I needed a mat on the trays because the tea pot slipped across the tray if I wasn't careful carrying it. The coasters were in the bottom corner so I could use the already hemmed side.


As a guide:
tray/place mat is 40cm x 28cm
napkin is 29cm x 28cm
coaster is 12cm x 12cm and 14cm x 12cm (one needs three sides hemmed)
mug rug is 28cm x 19cm

The bits left over were just the right size to add a border trim and do some applique. I have enough left over now to put a bit of applique on a white or red tea cosy.

Here are all my lovely sets.

Coasters
Mug Rugs

Napkins

Placemats/ Tray mats

Complete set

Complete set

Tray mat in action
Back in September 2012 I took the plunge and made one of my souvenir tea towels into a tray mat. It is nicer than washing it to death as a tea towel of just having it folded up in the cupboard.


Comment options:
Flickr
Pinterest

Happy Quilting and Crafting,
Val

Tuesday, December 31, 2013

Oh Bother!

I have been doing some housework for mum lately. She was planning to 'get someone in' but I thought a bit of extra pocket money would be good. I don't think I could clean for strangers but it is nice to spend more time with mum. We chat a bit and then I stay for a cup of tea after. Yesterday I was trying to straighten up her craft room a bit and thought it would be a good idea to put some of her pop-up book collection on the shelf in the cabinet so it would get less dust. Trouble is I moved them from one side of the room to the other and the cabinet has glass doors so now they get more light. Oh bother! I popped a tea towel over them but it just doesn't look right.

In the afternoon I was in my sewing room and had a bright idea to make a shelf sheet with something nice on it. I had just enough white and then my eye fell on some book fabric that I had forgotten about. It was perfect.
I had to put a couple of seams in the white to get the right width and set about putting the book border on by rolling the white part up inside the folded book border (like making a border on a pillowcase). I carefully checked the the books would be the right way up after sewing but failed to notice that I had the white piece wrong side up. The books are upside down. Oh bother! I couldn't just turn it around because I didn't want the seams under the applique.

I wanted some bold and interesting letters so I chose these scrapbooking letters.
I inserted the ones I wanted into Pages and sized them all to 6cm high, printed them out and traced them from the back of the page. The lines showed through easily.

I hoped it would be OK but now I see the photo I cannot rest until I unpick it and put it right. It is being modelled on my shelf. There's my squirrel from Melbourne and my free cat pattern on a journal cover and just the top of the hand painted tile I got from Iron Bridge in the UK. I love my book shelves.


On a happy note I finished a little mug rug that had been sitting waiting for some had stitching. The pattern is the same as my free pincushion pattern enlarged a bit and made rectangular. I looked in my box of smalls (fabric pieces that is) to find some backing then dipped into the bag with the binding off cuts. A new tea or mug rug and a few less scraps.


Another souvenir, my mug from Edinburgh. 
If you don't 'do' Google plus why not comment in Flickr or Pinterest. Everyone must be into Pinterest at least. I get notified if anyone comments on one of my pins or just repins. I have been having such fun visiting all the boards of the people who have been repining from my boards.

Flickr
Pinterest

Happy Quilting and Crafting,
Val

Friday, November 1, 2013

Quick Apron tutorial and a Gecko Mat with free gecko and leaf designs.


I picked up a couple of cute terry tea towels from Aldi that I new would make good somethings other than tea towels. This one is quick so there is nothing to download.

For the ties cut two 4" wof (from selvedge to selvedge) strips. I sewed then together to make one long strip. I left the selvedges on the tie ends. Make the ties by ironing in half then folding in the raw edges to the centre and folding in half again so the tie is 1" wide.

Sew right around close to the edges starting with the open edge.

Crease a fold in the tea towel then open it out and centre the tie against the fold line. Pin at each end to secure then fold over the tea towel. Pin for sewing.


Sew a rectangle starting along the folded edge about 1/4" in to secure the tie inside the folded tea towel. You are done.


Quick and easy.


Cute and small.

Practical.


What about a stunning gecko mat for the kitchen.


This fabulous gecko comes free from Fat Cat Patterns  I just printed it out and traced it in reverse. The line was dark enough to see through the paper when I turned it over. I had a colourful, tropical print and centred the fusible webbing cut out over the big flower. The background is  13" x 13".

I used machine buttonhole stitch to outline it. Then sprayed some decommissioned bath towel with basting glue and quilted it with some leaves I traced from the fabric.


I used my water soluble pink chalk pencil to draw them on the background.

I quilted, trimmed the edges and machine bound it with the matching tropical fabric.
My tutorial shows how I do the joining of the binding with a bias seam as well as more step by step.

You can pin this post for later.
 

Download the full mat tutorial from my Google Docs.
The leaves are fairly generic so even though I copied them from the fabric I don't think it will matter if I share the outlines here.
2 leaves jpg to download.
2 more leaves jpg to download.

I am linking up with Finish it up Friday at Crazy Mom Quilts this week.

If you visit why not leave a howdy comment. I like returning the visit if you have a blog.
You can comment on:

My Facebook page

My Flickr photo

or log into Google Plus to comment below.

Happy Quilting and Crafting,
Val

Friday, April 26, 2013

Geometric cats

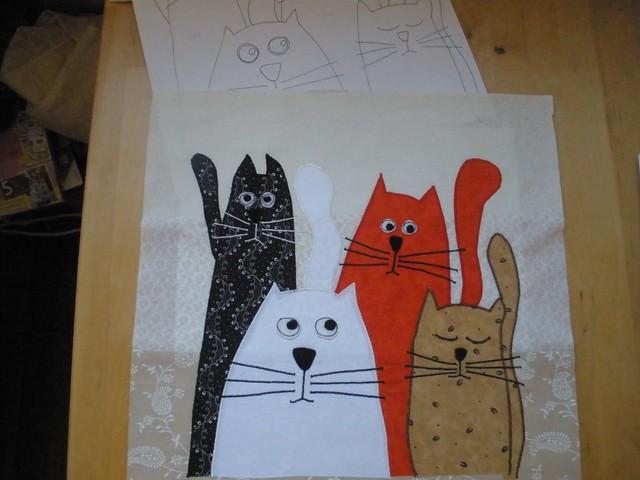
I found a lovely painting by Azul de Andruchak of cats done like Picasso. There is a picture of the original painting in thisBlog just scroll down a bit to find it.
I couldn't bring myself to give them only one eye each so I added more eyes. It was a bit tricky to get all the pieces to meet in the right places.
It is only small, about 12 x 8 inches.


Linking up with Link a Finish Friday 64
Also linking up with Applique Thursday

Happy Quilting,
Val

Friday, February 1, 2013

Little Finishes

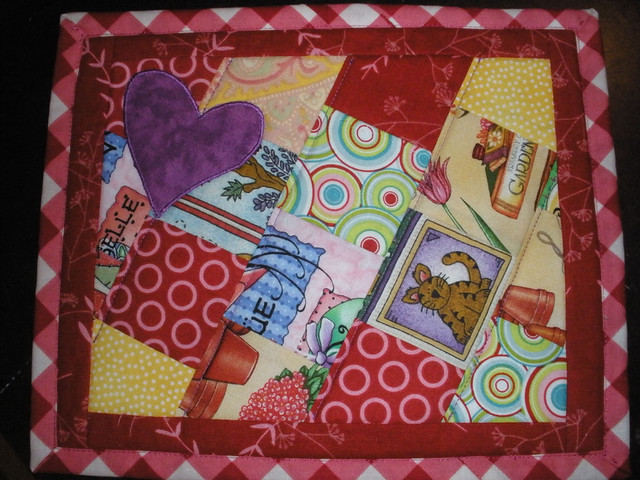
I just had an urge to make something Valentine's related. I don't really decorate for it but I needed a new mug rug to replace the Christmas one on the little side table in the lounge room.

I have been surfing the web for mug rug designs as usual and thought maybe I should make one. I used a design with rows of squares set on an angle to use up some scraps. I had lots of 2 1/2 inch squares and strips to use so I picked out some pinkish ones and a few things I like such as cats, gardens and Paris fashions to add in. Several of the fabrics are the ones that I used in my very first sew along when I started blogging. It was a table topper called February Hearts and it is still hanging on the back of my lounge chair. The lovely host was Robyn at Daisy Quilts.

I thought a heart was in order so I used a scrap of that great purple I used in the latest needle book to make a fused on heart.


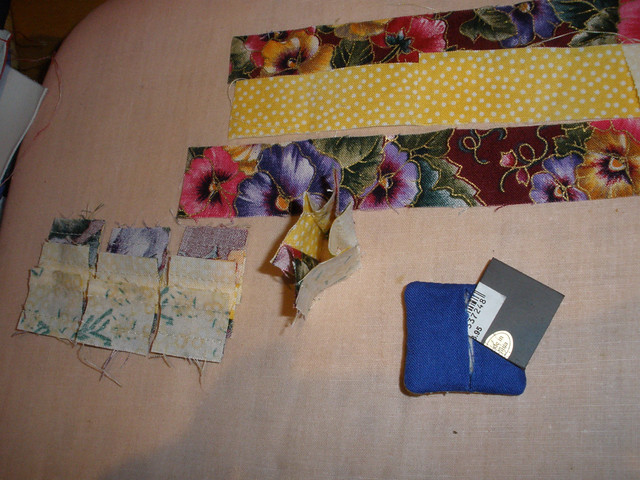
I also discovered a lovely scrappy journal cover idea that had me scrabbling through my scrap box and I found a little bag with some tiny nine patch block pieces and magnets. Ages ago I had made a tiny nine patch fridge magnet like one I had seen on a blog. I sewed a few more bits together and made another one. This time I put a slit in the back ( I used the slit and turn method) and slipped the magnet inside. It is just strong enough to hold a sheet of paper.

To make the tiny squares I sewed 6 1 inch strips together to make a tube then sliced off 1 inch sections. You then unpick the tube in successive seams to get the squares staggered. Each tube section makes two 3 square strips. Sew three together to make 9 squares.
I put interfacing on the backing fabric and pre cut a little slit. Put wadding on the nine patch then sewed the back onto the front all the way around just like my coasters. I made the slit bigger and turned it. I then slipped the magnet inside and stitched it up.
The magnet is a piece of one of those flexible business fridge magnets everyone collects on the fridge.

Strips, tube sections, putting the magnet in.
The one on the right is the latest one. I think it shows some improvement in my skills :)
The cross stitch heart is my first go at a covered button magnet. I really need to do it with linen rather that Aida.

Happy Quilting,
Val

Monday, December 17, 2012

I Love Pie

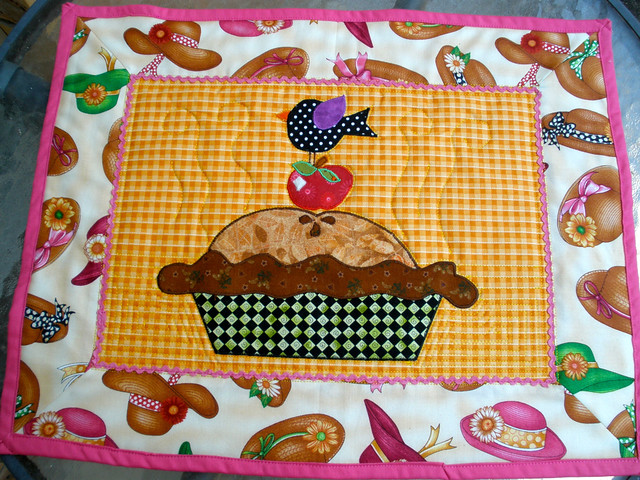
For some reason I haven't felt like getting the Christmas fabrics out but I have felt the need to applique. I dug out my Two Hour Mini Quilt Projects book and changed the pie design from portrait to landscape. I figure I can share my pie, apple and bird since they are only similar, just not in the same configuration as in the book. It's not that hard to work it out from my finished project photo.


I wasn't completely happy with my choice of the hat fabric for the border but I love the hat fabric and I love the applique so I am happy enough. It looks very handsome on my kitchen counter.
I practiced mitreing the corners of the border.

I cut the backing fabric about two inches bigger then did the quilting and trimmed the backing to one inch. I then folded it in and sewed it like binding. I haven't done this before. I seems to be a good way to finish smaller things.

I downloaded some colouring in letters (saved in my Pinterest) and planned to make a tea towel but it got transformed into a counter mat along the way. I put interfacing on the top half to do the applique then cut a piece of wadding just a bit smaller than the half tea towel. I folded it in half, did some quilting and then sewed two rows around the outside. The tea towel was 3 for $4.99 at Spotlight.


You can download the drawings from my Google docs

It is very hot in Brisbane today. 37 degrees C outside. It got to 30 inside and we have just put the air conditioner on. I nipped outside real quick to get a couple of photos in the sunlight. It was way too hot to play with props. Both these mats are twice as big as a mug rug. I call them counter mats. I need them bigger so I can fit on my mug, my tea pot and my cake plate and sometimes a little tea bag dish to put my tea infuser if I use one.

Happy Quilting,
Val


Wednesday, November 7, 2012

A Cockatoo and a Cup or Two

I have searched around on the internet a bit and there are just too many owls and kitties or pumpkins and crows or red cardinals and snowmen. I am going to make a bit of a statement about Australian themes regarding cute or seasonal or holidays by creating a variety of designs.

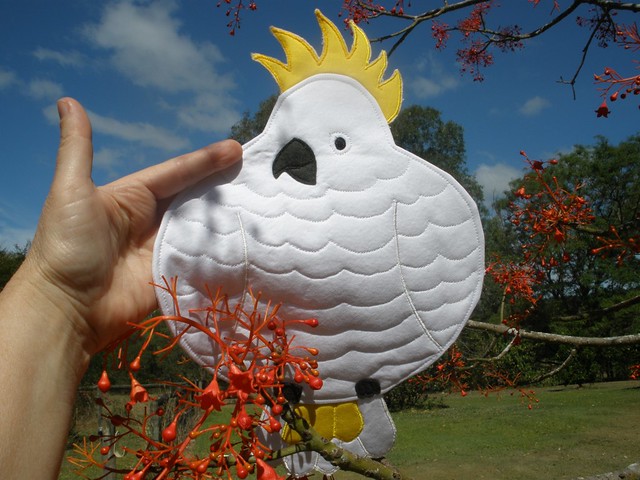
I have started on the flannel flowers but they are quite elegant and dignified so I have to work a bit harder on projects to go with the designs. I thought the cockatoo would lend itself to some more casual projects so to start with I have designed and made a cockatoo mug rug or teapot mat. I have the Andy Warhol inspired pot holder in the works too.


Download the pattern from google docs.

Also rather than fill the page with instructions I have made a flickr set here.

I thought he would feel at home with my cute teapot for one.


My morning was taken up testing the 6 sided pear pin cushion pattern. It looked tricky but was really quite easy so now I am ready to add the sweet flannel flower stitchery or applique to the pattern.

I put a big washer in the base to give it weight. I bought these at the hardware for this purpose.


Sunday, November 4, 2012

Aussie Autumn Theme


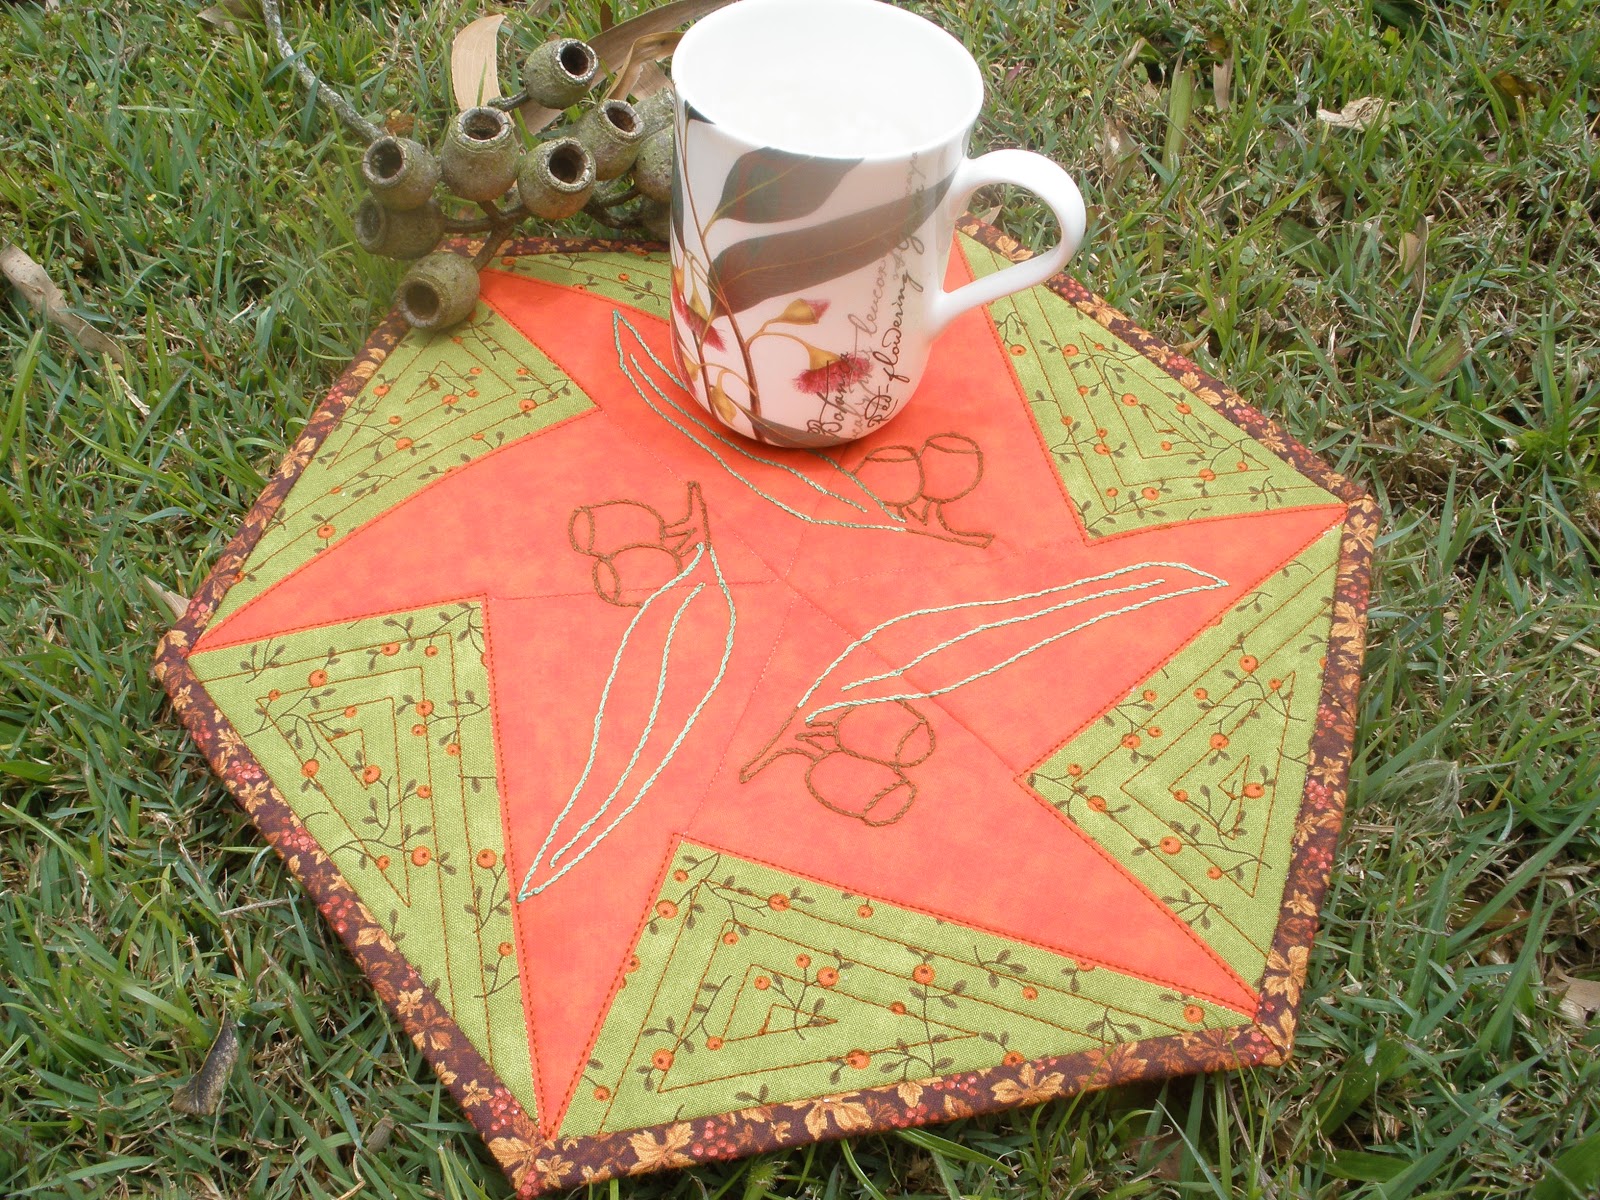
I had some left over triangles of fabric that I didn't use in my table topper but they were just too pretty not to make into something. Six pieces nicely makes a mug rug or candle mat size.

The colours meant that pumpkins and crows first popped into my head as decoration but it was at this time that I made a decision to look for Australian themes. Since the Eucalypt trees generally flower during spring and summer the gum nuts are an autumn feature. Using a public domain royalty free piece of clipart I created a circular pattern to stitch onto my mat. I would like to share my pattern with you so you can download it by clicking the image of the drawing and saving it.


Because I now have a new plan to help me choose fabrics I will be collecting colours that work well with Australian themes. Nothing like buying fabric to a plan. It means you can easily justify to yourself those huge purchases. (I don't really feel the need to justify my purchases to anyone else. ) The trouble with a new plan is that now I have to clear some of the bright and bold patterns already in the stash to make more room.
Lots of cushions and table cloths maybe, or tote bags and zippy things :)

Happy Quilting,
Val

Monday, October 8, 2012

mug mats and weeks 39 and 40

I soooo love doing my aerobic exercise. I run. I walk. I jump. I have managed to increase the time to about 50 mins of interval style where you do high intensity for 1 or 2 or 3 minutes then walk for 2 or 3 mins to get the heart rate back a bit then high intensity again. It is very doable.

I have been drawing up a storm using the pictures I have pinned or seen in magazines and I have decided to make a quilt from 12 inch blocks of random design both applique and pieced. I have finished block 1 this week. I copied this lovely design from mamacjt 's blog.


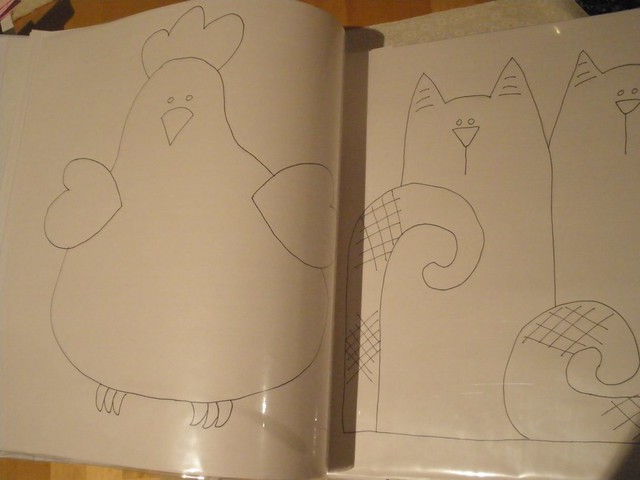
I wanted to get some new skinny folders to file my old drawings a bit more user friendly rather than in the big fat ring binders I have now. They are too hard to pick up and flick through. I also wanted a 12 inch album to store my new drawings. I ended up getting two snap load albums from Aldi for $5 each. They are normally $20 at Lincraft. I have been using my stash of 12 inch scrap booking papers that I have had for maybe 10 years to make the designs into 12 inch blocks. The papers are the ones you get 100 for $15 from Big W. Perfect for quilting designs.


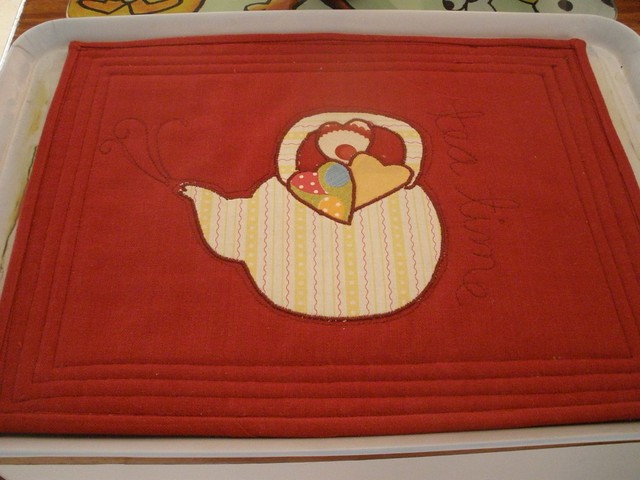
I have been carrying my brekkie outside each morning with my tray. To stop things sliding around I need a tray mat. I have been folding in the edges of my fancy tea towels to use as mats. I don't use them as tea towels because they never get seen then. I had an urge to sew so I  took one of the tea towels and cut it into a mat. I even appliqued a tea pot on the back side and I have enough tea towel left to make a tea pot cover.


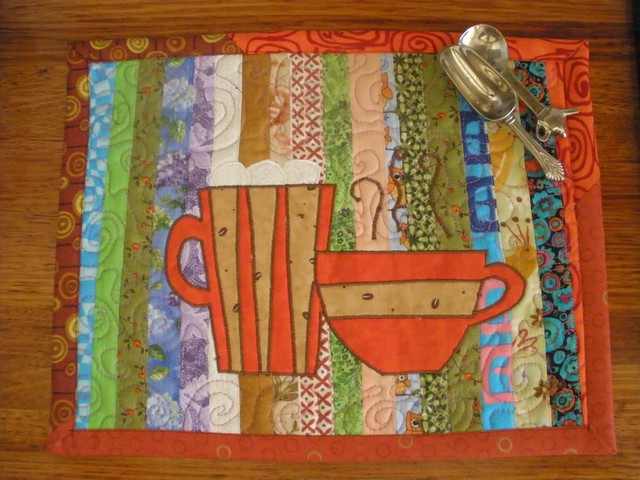
I couldn't help myself and just happened to start sewing selevedges together again. They make great kitchen counter mats because spills don't show up. An applique was needed of course so a mug with marsh mallows and a cup of coffee were applied and voila another nice mat to make my tea on. The owl is going on the cat quilt instead of the parrot DD2 didn't like.


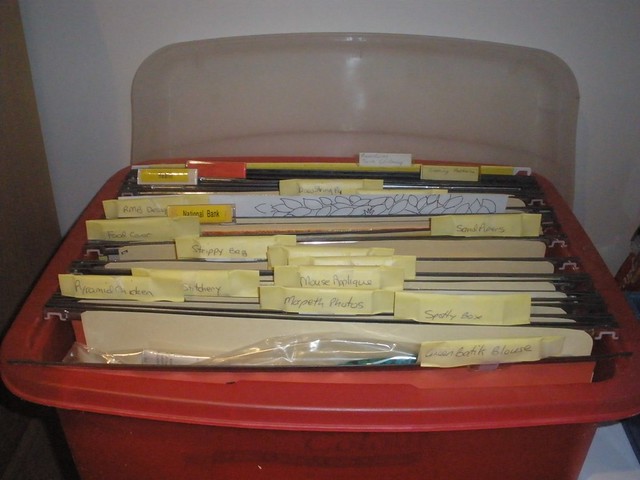
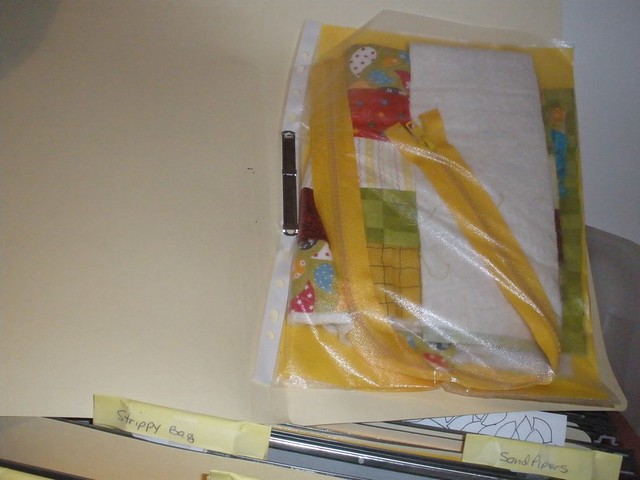
I tidied up the sewing table a bit and put all the small UFO's into folders in a hanging file box. I then started putting steps required to finish them in my Errands app so I can do a little bit if I am looking for something to do and then tick it off so I know exactly what is required next time I am looking for something to do.


The folders were left over from my teacher days. This is my half finished tote bag.


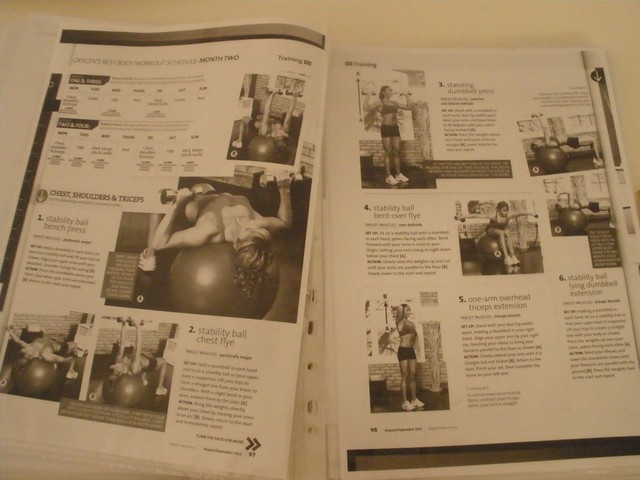
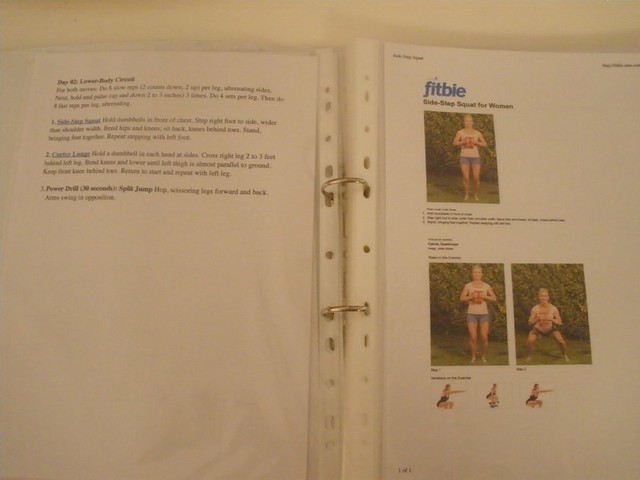
Finally I redid my workout routine folder, putting it into a ring binder instead of a display folder. I have quite a few pages now and with the ring binder I can place the current routine in the front of the folder. The routines are made up of some printed out ones from Pinterest and various websites as well as photocopies of routines from my Oxygen or Shape magazines. Having the folder makes it much easier to actually do the exercise rather than looking for, then looking through the magazine or website.

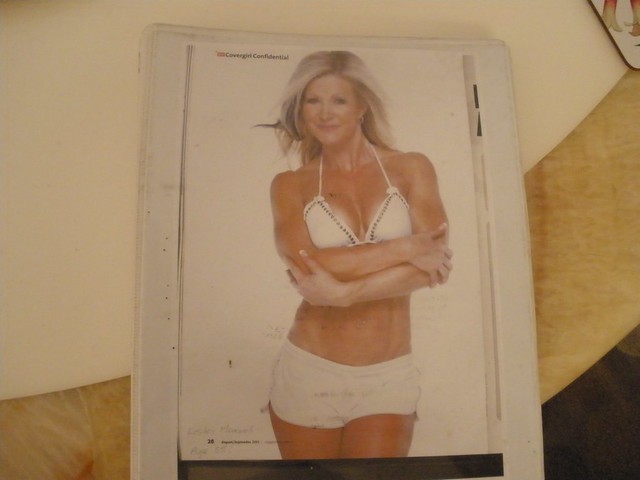
Leslie Maxwell is my inspiration. She is 55 in the photo.


Happy Quilting,
Val
Related Posts Plugin for WordPress, Blogger...