
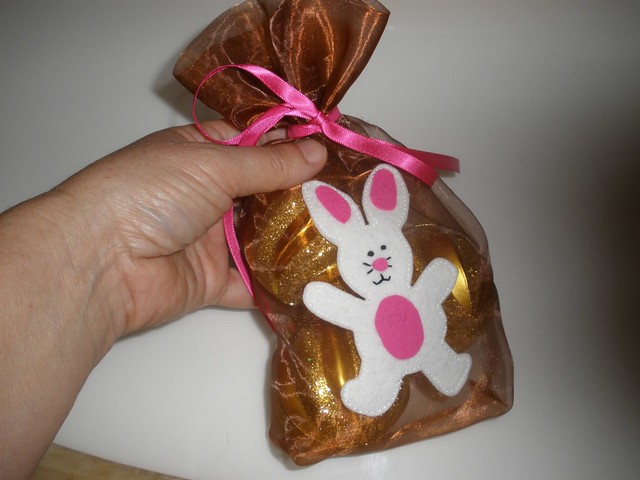
I discovered this basic bag design and it is perfect for a drawstring look without all the fiddling required to make the drawstring. It lends itself to all sorts of uses but here I have made it into an Easter bag to fill with Easter eggs.
I didn't actually take the photos as I constructed it because I hadn't really planned to give instructions but I am sure you can get the gist of it with the see through fabric.
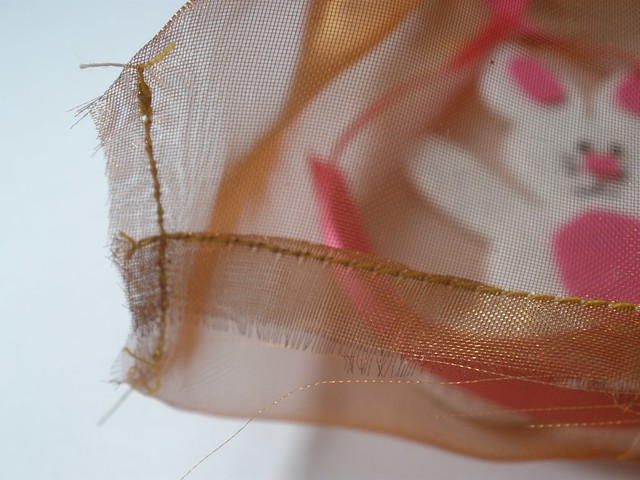
You start with a rectangle of fabric 11 inches wide and 12 inches high. You can adjust the size of the rectangle for a bigger or smaller bag but this size is probably as small as you want to go for sewing ease. I used some organza I had from way back. The opening of the bag was just a fraction too small for me to use my free arm so I will probably use a 12 inch square next time to make it even easier.
You can download the bunny on PDF from my google docs.
I can already see where I wrote 12 inches on the left of the diagram even though it actually points to the finished height of 10 inches. But with the bagged corners the finished height will be less than 10 inches. I would also start with a 12 inch square now. Oh my! Pattern writing is a nightmare. If there is something you can't work out just email me.
Make your bunny using fusible applique webbing and felt and fuse it onto your rectangle 2 1/4 inches from the bottom and in the centre. I sewed around my bunny because I thought it looked better but the fusible webbing does the job. Stitch his face with 3 strands of embroidery thread. I used French knots for the eyes and backstitch for the rest in black.
 |
| I stitched the bunny but not the pink bits. I only have finished photos. |
Fold 24 inches of ribbon in half and pin it 4 inches from the top. With right sides together and keeping the ribbon tails on the inside sew the cenre back seam.
 |
| This is turned right side out after finishing but you can see how the ribbon is sewn in the seam. |
Arrange the tube so the seam is at the centre back then sew across the bottom.
Pinch the corners to bag the bottom slightly and sew across about 1/2 inch from the point. Trim.
Fold the top down level with the ribbon and stitch around to catch the edge 2 inches from the top. It helps if this edge is a selvedge.
Turn and you are done. Well almost done. You still need to fill it with eggs :)
 |
| I didn't have any eggs so it is filled with Christmas baubles. |
Happy Quilting,
Val
